


- Resource
- Groups - Instructor
- Groups – How to Configure and Set Up
Groups – How to Configure and Set Up
Before setting up your groups, you should know how you want them organized. A number of things can affect how users are enrolled in groups:
- Were groups set up before or after you enrolled users?
- What Enrollment Type did you choose?
- Are users auto-enrolled in groups?
- Are course participants placed in groups randomly?
- Can users self-enroll in groups?
The following descriptions explain the options available when creating new groups and provide conceptual information on when they should be used.
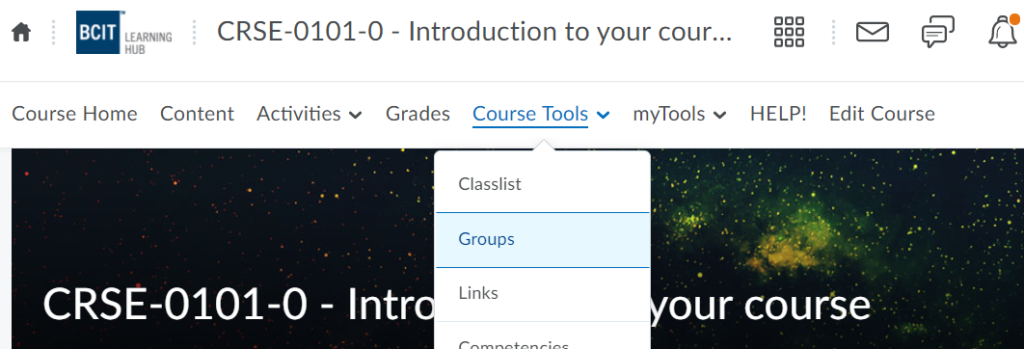
Find the Group Tool
Go to your course > Course Tools > Groups
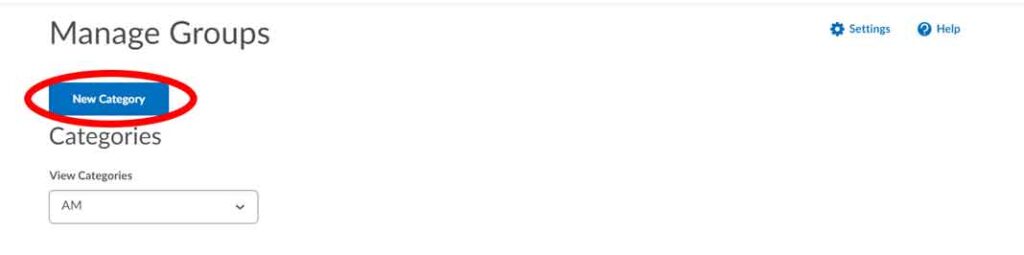
How to Add a New Group
Select New Category
Enter a Category Name
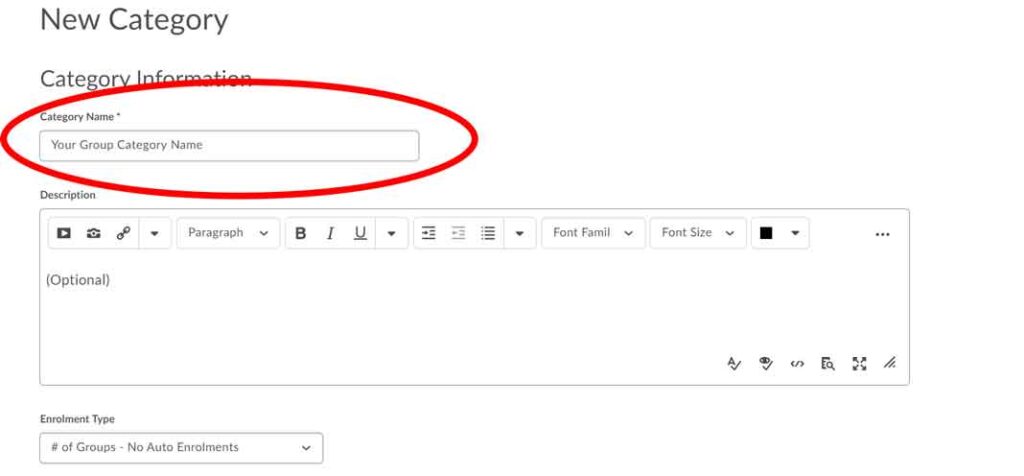
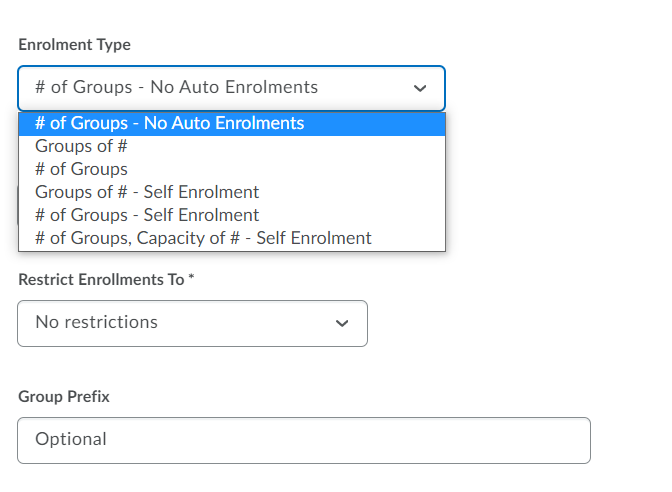
Choose your Enrollment Type (for more details see the Group Enrollment Types / Configuration accordion below about the enrollment types and what they mean)
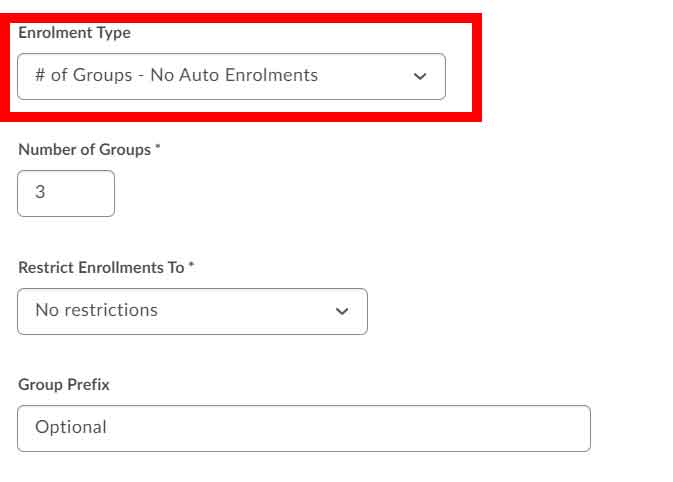
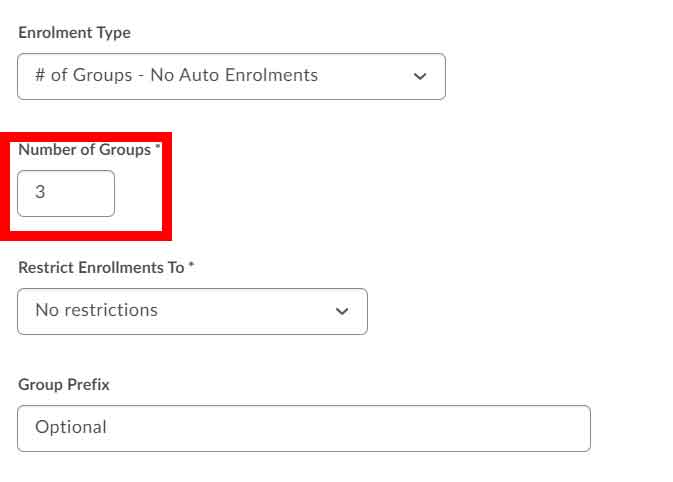
Enter the Number of Groups or Number of Users (this field depends on which enrollment type you chose)
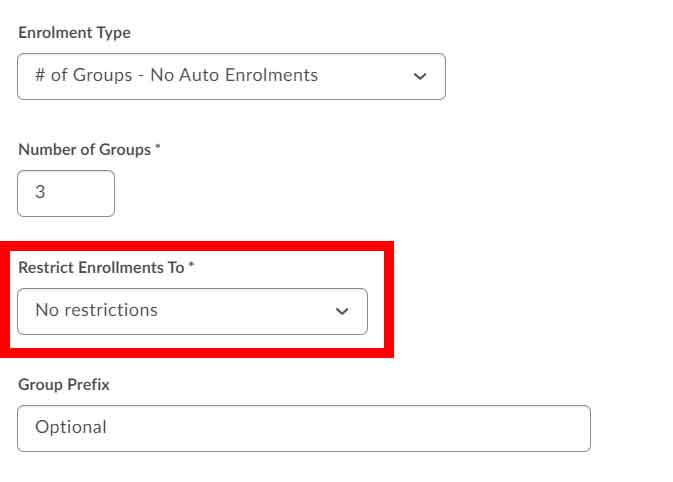
If you have crosslisted your course you can Restrict Enrollments To a specific CRN only
It is recommended to leave the Group Prefix Empty.
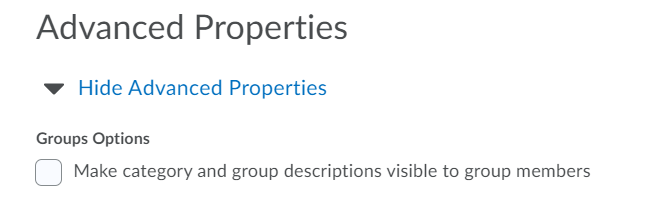
Advanced Options (These options change depending on what enrollment type you chose. Select the settings that make sense to your configuration)
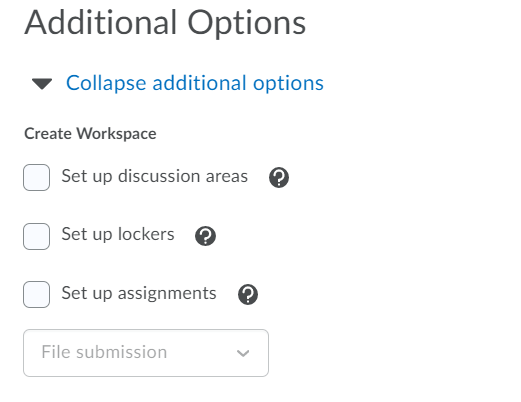
Additional Options (If you know you want Discussion Areas, Lockers, and Assignments set up for each group, by selecting these it will automatically create them for you)
Save
How to enroll users to a group manually
Go to your course > Course Tools > Groups
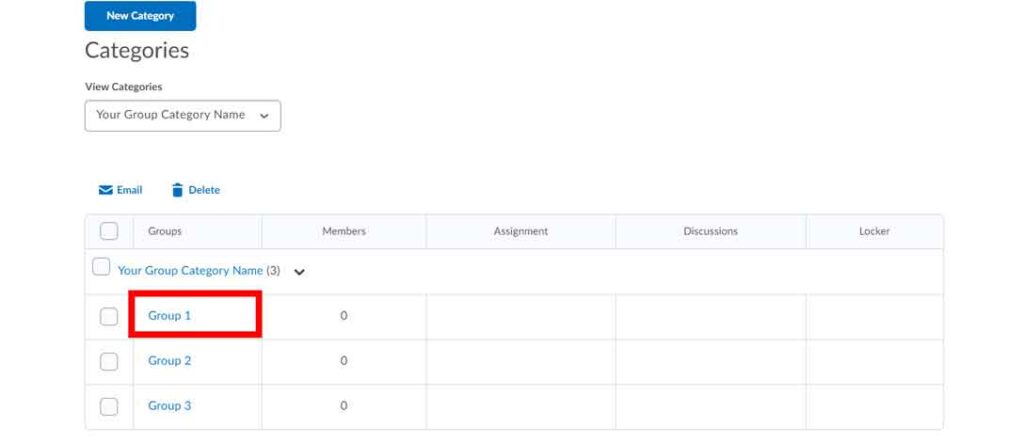
Click the list underneath View Categories to select which Category group you would like to add users too 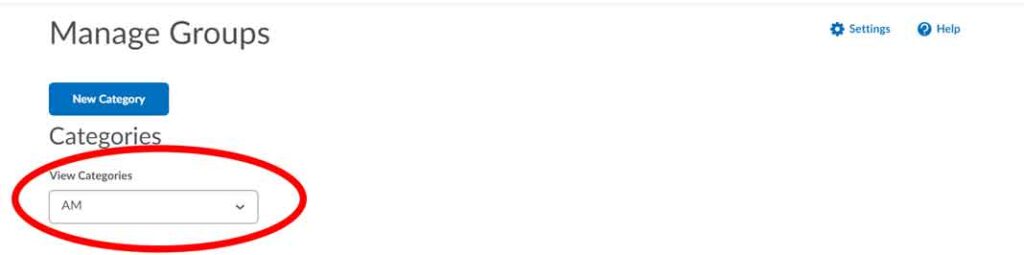
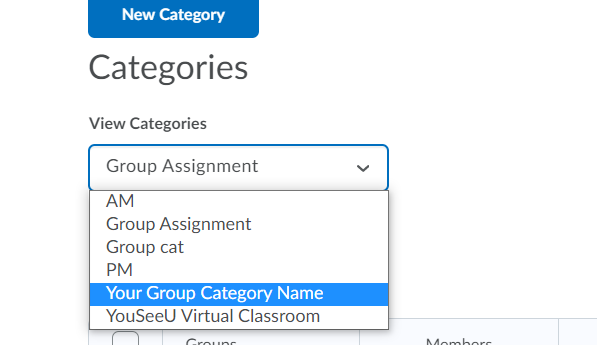
After selecting the category you should now see your list of groups
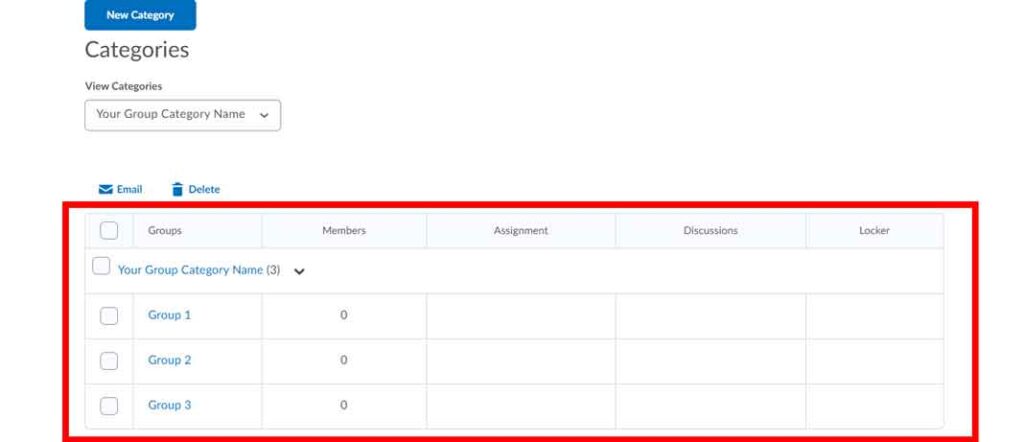
Pick the group you want to add users too and click the blue title (ex. Group 1)
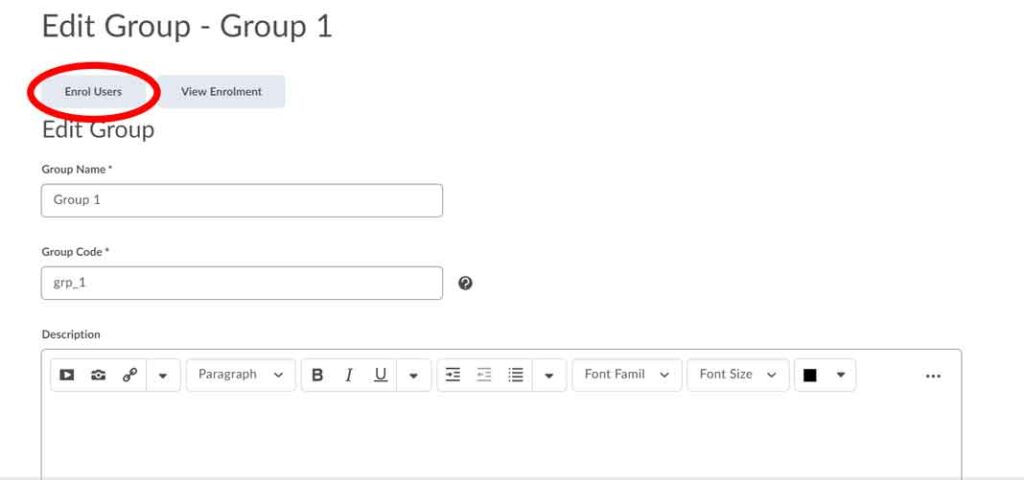
Click Enrol Users button
Select the box to the right of the user you want to add to this group – make sure you see a check-mark appear (you can select more than one user for a group at a time)
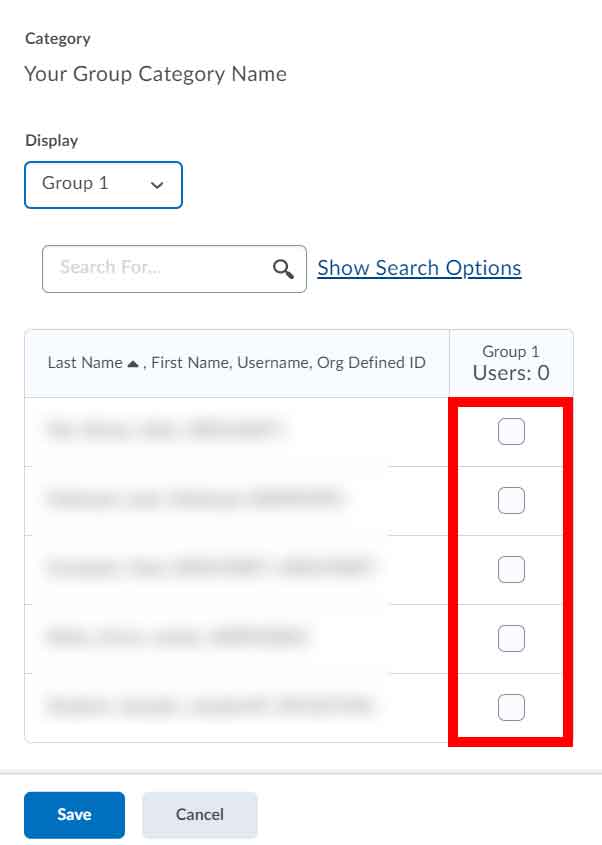
Save
Repeat steps 1-9 for all other remaining groups
How to remove a user from a group manually
Go to your course > Course Tools > Groups”
Click the list underneath View Categories to select which Category group you would like to add users too
After selecting the category you should now see your list of groups
Select the Group
Click Enrol Users
Select the box to the right of the user you want to remove from this group – make sure you see the check-mark disappear (you can select more than one user for a group at a time)
Save
Repeat steps 1-9 for all other remaining groups
How to create Self Enroll groups
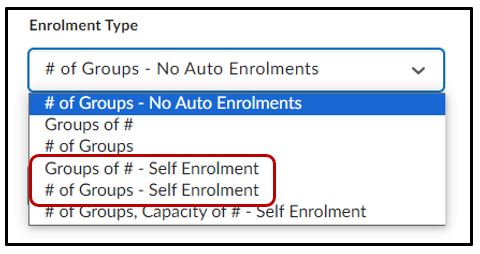
Go to Course Tools > Groups > New Group > under Enrolment Type choose
Groups of # – Self Enrolment or # of Groups Self Enrolment
If choosing
Groups of # – enter the number of users per group
# of Groups – enter the number of groups
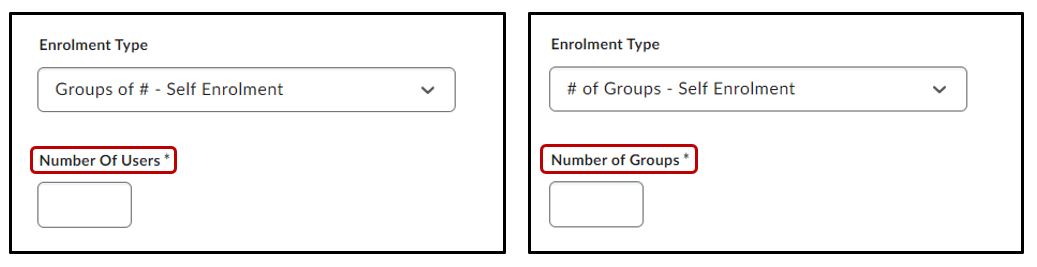
select Publish to complete
How to restore Groups & Categories
A new Recycle Bin option is available in the Groups tool, enabling you to restore individual group units or entire categories within a course offering. When you restore groups, existing enrollments and lockers are also reinstated (if present). Any activities linked to the restored groups, such as discussions or assignments, can then be individually restored through their respective restore pages.
Note: Groups and categories deleted before this feature was introduced in November 2024/20.24.11 do not appear in the Groups Recycle Bin. To restore these previously deleted items, contact D2L Support for assistance.

Figure: Click Recycle Bin to view the deleted groups and group categories.

Figure: Select the check box for a group or group category and click Restore.
Tip
In most cases it is better to set up groups after the majority of users are enrolled in your course. This gives you a better idea of how many users you are organizing and how many groups you need. Setting up groups after enrollment can also ensure better distribution of users between groups.
Group Enrollment Types / Configuration
# of Groups - No Auto Enrollments
- This option creates a specified number of groups which you can add any number of users too using the ‘Enroll Users’ page.
- This enrollment type is good to use when you know the number of groups you want to create and which users you want in each group.
Groups of #
- This option creates the minimum number of groups needed to place users in groups of a specified maximum size. The number of groups is determined by the number of people in the class list. The groups will be automatically created based on how many people you want in each group to how many people you have in the class list.
- This enrollment type is good when you know how many users you want in each group.
# of Groups
- This option creates a specified number of groups.
- This enrollment type is good when you know the number of groups but you want Learning Hub to place the users in the groups for you.
- If the “Auto-Enrol New Users” option is enabled, users are added using a brick laying algorithm (first learner in classlist added to group 1, second learner added to group 2, and so on) regardless of whether they are enrolled before or after the groups are created.
- If the “Auto-Enrol New Users” option is not enabled, then the specified number of groups are created and existing users will be enrolled into the groups. New enrollees will have to be manually enrolled by the instructor using the “Enroll Users” page.
Groups of # - Self Enrollment
- This option creates groups based on how many users self enroll into a group. Users choose the group they want to enroll into from the groups page. In the members column of the Groups grid list, capacity markers display the number of users there are vs how many are allowed : x/y
- x= how many are enrolled
- y= max number allowed
- This enrollment type is good when you know how many users you want in each group but you want to allow users to decide what group they would like to be a part of
- If no users are enrolled in your course at the time of creation, then only one group is automatically added (as users are added to the class list the groups will grow).
# of Groups - Self Enrollment
- This option creates a specified number of groups. Users will self enroll from the Groups page.
- This enrollment type is good when you want to make a specific number of groups available for users to join.
- Can be good for when you want to organize groups based on specific topics
# of Groups, Capacity of # - Self Enrollment
- This option creates a specified number of groups with a specified number of enrollments per group.
- You can increase or decrease the amount of enrollment for a group after they have been created
- decreasing a group size (enrollment number) after it has been created will not re-allocate users to another group, you must assign those users to another group(s) manually
- You can increase or decrease the amount of enrollment for a group after they have been created
- This enrollment type is good when you know how many users you want in each group and you want to allow users to pick their own groups
Step By Step Instructions
Related Posts
