


- Resource
- Grades - Instructor
- Grades – Setting Up Grades in the Learning Hub
Grades – Setting Up Grades in the Learning Hub
Use the Grades tool to build your gradebook and manage student assessments.
If you find yourself with an empty gradebook. You will need to build your gradebook before you can use it. It’s best to match your gradebook to your course outline.
Check the Grades Page Calculations
Check to make sure the grade calculation options are calculating correctly. Go to Grades > Settings

Select Calculation Options > scroll down to Grade Calculations > make sure the radio button beside Treat ungraded items as 0 is selected > make sure Automatically keep final grades updated is selected > Save

Creating a Grade Item
Grade Items are either individual items you want to grade or if you associate the item with a category it get placed inside the category and calculates based on what the category is set too.
Click Grades > Manage Grades > New > Item

Select Numeric

Enter a name for the Grade Item.

Optional: Create a Grade Item category
Enter Point and Weight of Grade Item
Enter the maximum number of available points. Enter the weight of the grade item
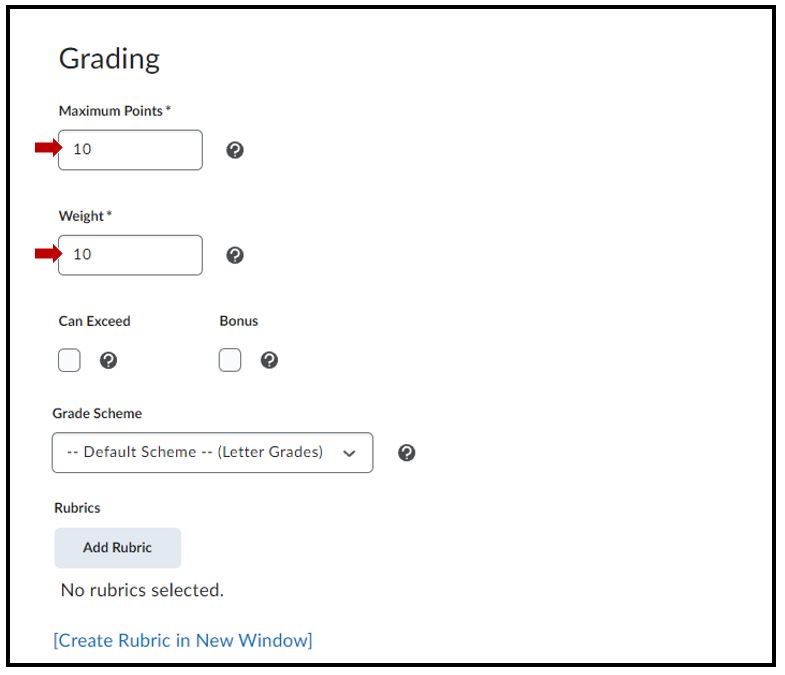
Optional: Create a Rubric
Optional
Under Display Options modify the display settings for students. By default, students only see their numerical grade. To allow students to see a letter grade or other grade symbol (like Pass/Fail), these settings will need to be modified.

Select the circled question mark for more details.
Related Posts
