


- Resource
- Uncategorized
- Kaltura Quiz – Setting Up a Quiz
Kaltura Quiz – Setting Up a Quiz
In this article, we’ll walk you through the process of setting up a video quiz in Kaltura. To get started go into Kaltura My Media which can be found under myTools inside a Learning Hub course.
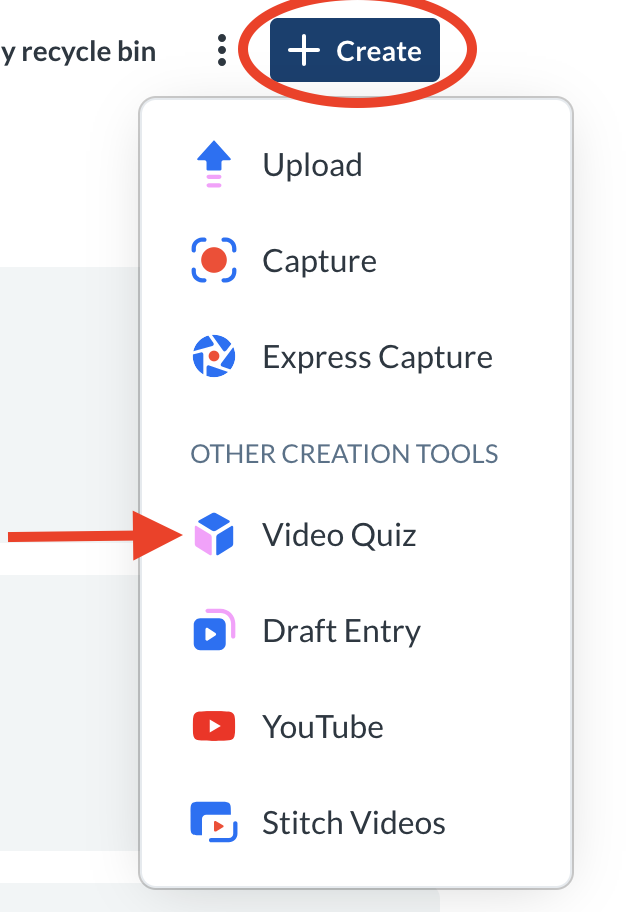
Next, click +Create and select Video Quiz
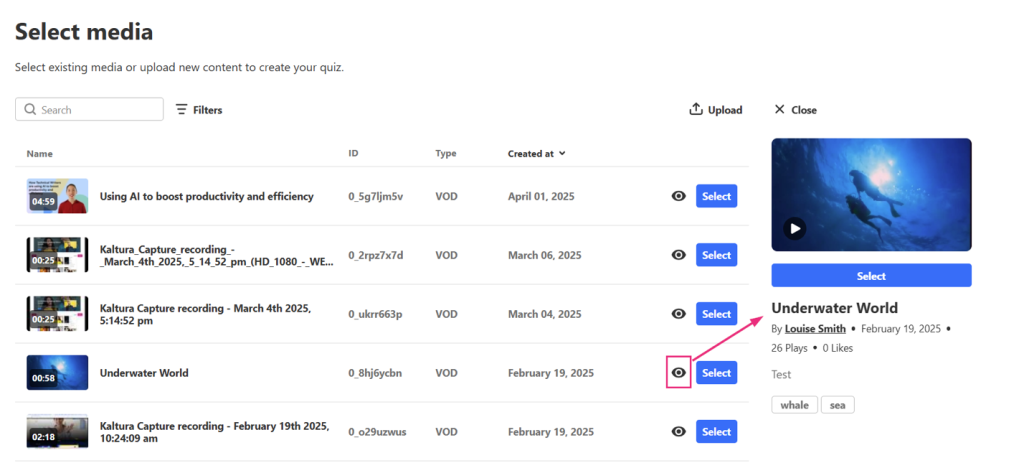
The Select media page displays.

You can use the search field and filters to quickly find the media item you need.
Click Select next to the item you want to use for your quiz.
You can click the eye icon to preview the media – press play to watch, then click Select.
If instead you want to upload a new media item for the quiz, click Upload at the far right or select Close to return to My Media and then under +Create select the Upload option.
Once you click Select, the quiz editor launches.
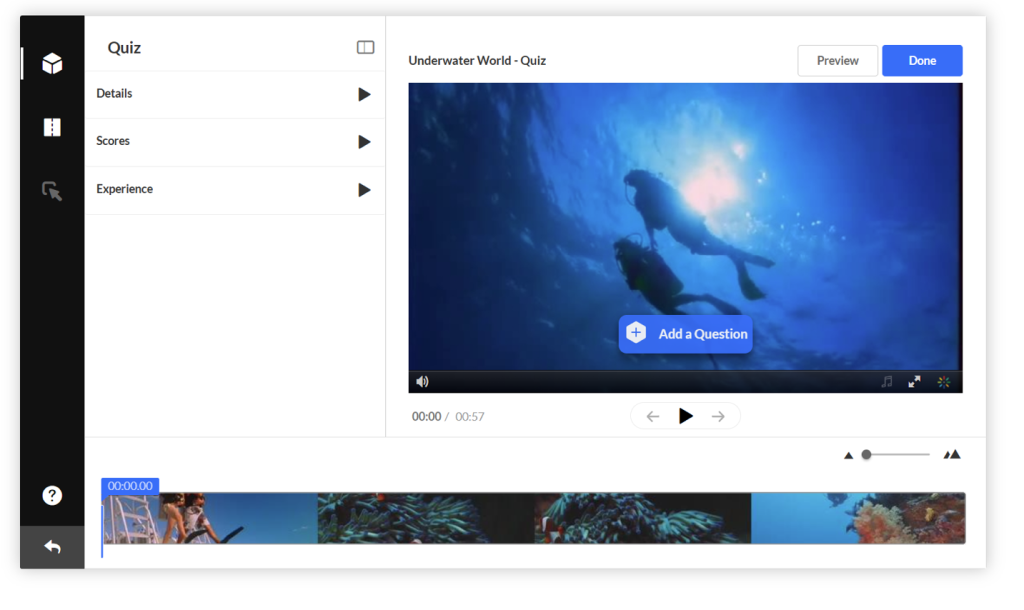
Configuring your Quiz
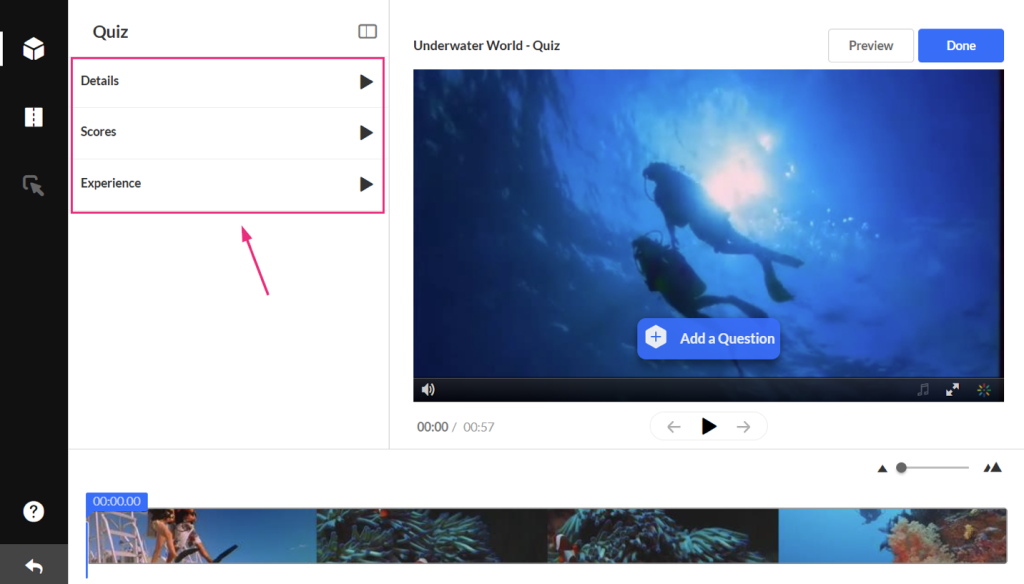
In the quiz editor, the quiz settings are organized into three tabs: Details, Scores, and Experience.
Details Tab
Click the Details tab to edit the quiz details.
You’ll see the following default values which you can change to suit your style or purpose (don’t forget to scroll down while you’re in the tab!).
- Quiz Name – This is the name you originally gave to the media item. You can change it to any name you want.
- Welcome Message – A default message is ready for you to use but you can change it to anything you like. The message is shown on the first screen of the quiz. If you don’t want a Welcome message, just untick Show Welcome Page.
- Allow Download of Questions List – This allows quiz participants to download the list of questions as a PDF before starting the quiz.
- Instructions – The following default instructions will be displayed: “All questions must be answered. The quiz will be submitted at the end.”
Scores Tab
Next, click the Scores tab to set or modify the scoring options.
The following default values are displayed, and you have the option to change them:
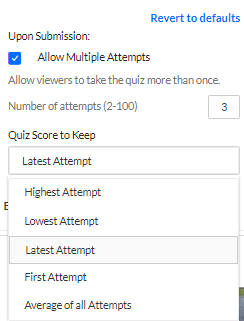
Allow Multiple Attempts – You can select how many attempts a participant has to take the quiz (the minimum is two per quiz). You then choose which score to keep (highest attempt, lowest, latest, first, or average of all attempts).
The number of attempts will be shown on the Welcome page as long as the Show Welcome Page has been enabled in the Details tab.

After a participant submits the quiz, the Submitted page shows the final score.
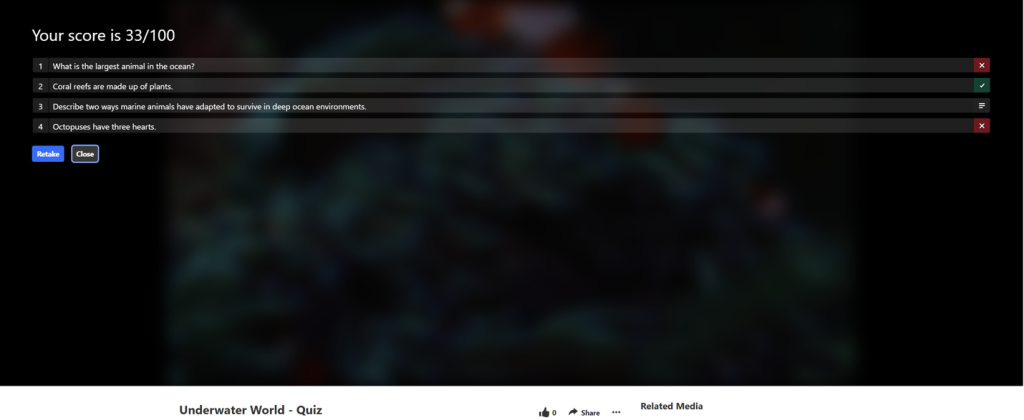
(Participants won’t be able to see their previous answers after they click Retake.)
The participant will also be able to see the scoring selection you chose:
- Do Not Show Scores – A ‘Thank you’ message will display after submitting the quiz, and no scores will be presented to the viewer.
- Show Scores – Participants will see the quiz score page after the quiz has been submitted.
- Include Answers – Participants will be able to see correct/incorrect answers, as well as the correct answer’s rationale if you chose to add it during the quiz creation.
Experience Tab
Click the Experience tab to set or modify the experience options.

The following default values are displayed, and you have the option to change them:
- Allow Answers Change – Allows your participants to change an answer before submitting the entire quiz during review mode.
- Allow Skip – This enables a “Skip for Now” button which allows your participants to skip a question and go back to it later.
- Do not Allow Skip – Participants must submit an answer before proceeding forward.
- No seeking forward – Participants won’t be able to use the seek bar to navigate the video past the point they viewed.
Adding Questions
To learn how to add questions see job aid titled Kaltura Quiz – Adding Questions
Related Posts
