


- Resource
- How To - Instructors
- Video Assignments – How to Create in Your Course
Video Assignments – How to Create in Your Course
Video-based assessments can evaluate learners on speeches, presentations, and more. An example might be used for students to submit an interview question “Tell me about yourself”?
This tutorial covers the Individual Assignment.
Setup instructions for other video assignments
There are 4 types of video assignments. Click the links below for setup instructions:
- Individual Assignment (Click this link if you want additional help on features not covered in this Tech Help job aid.)
- Group Assignment
- Question and Answer Assignment
- Interactive Video Assignment
Step One: Go to the Video Assignment Tool.
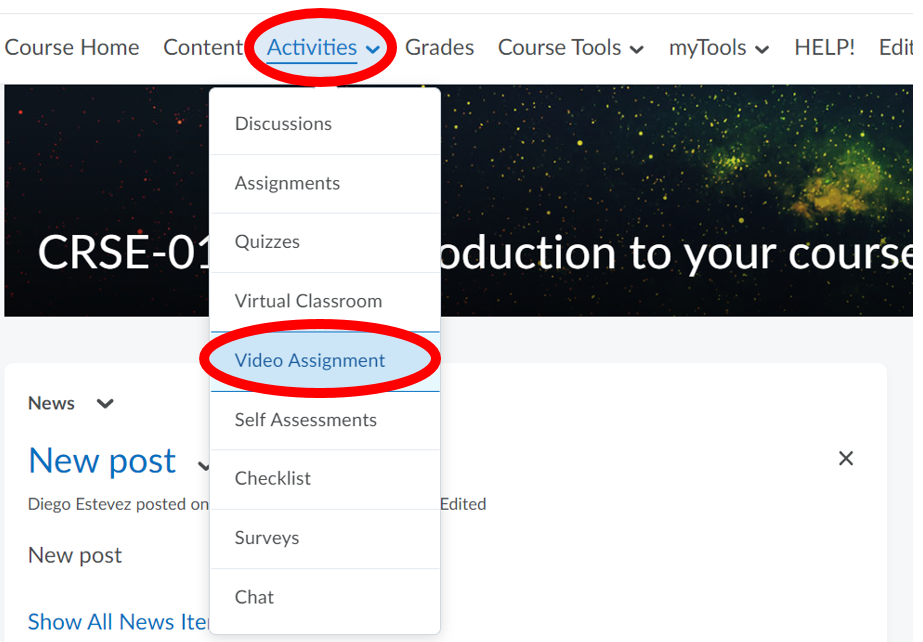
Click on Activities, then Video Assignment as shown below:
Step Two: Create the Video Assignment.
Click on the “+” at the bottom right hand corner:

 A vertical toolbar will open up. Select Create individual assignment.
 Add the details for this assignment.
- Name your Video Assignment.
- Select the Evaluation type.
- If you are using the weighted grading system with a percentage scheme, evaluation types are converted to points and weights and scaled (if applicable) in the gradebook.
- Please note that the rubric option in the Video Assignment is not in any way connected to the Learning Hub’s own native rubric tool. To use a rubric from the Learning Hub, create an Assignment using the Assignments tool and then attach the rubric there.
- Write your instructions (this is a mandatory field) or optionally you can include them in a video.

Please note that this video assignment defaults to a Peer Review of 3 people.
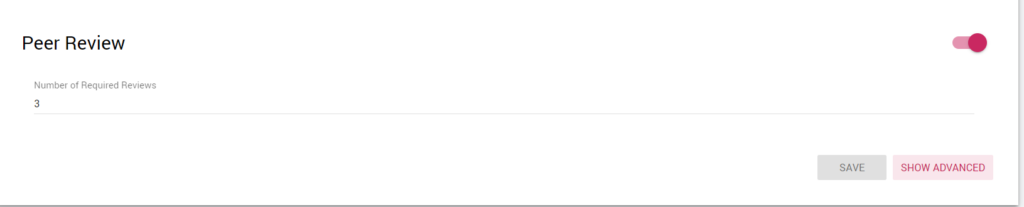
(optional)
If desired, select advanced options for peer review by clicking “show advanced”.
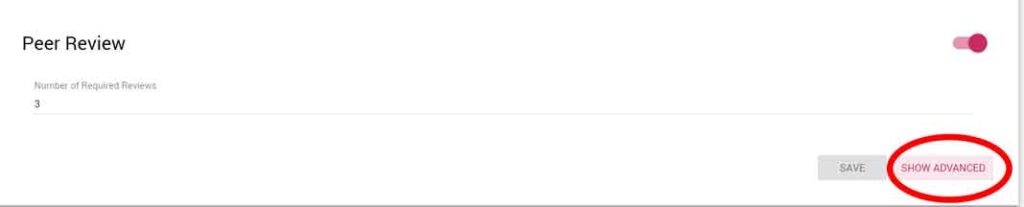
For information on each of these settings, please see this page
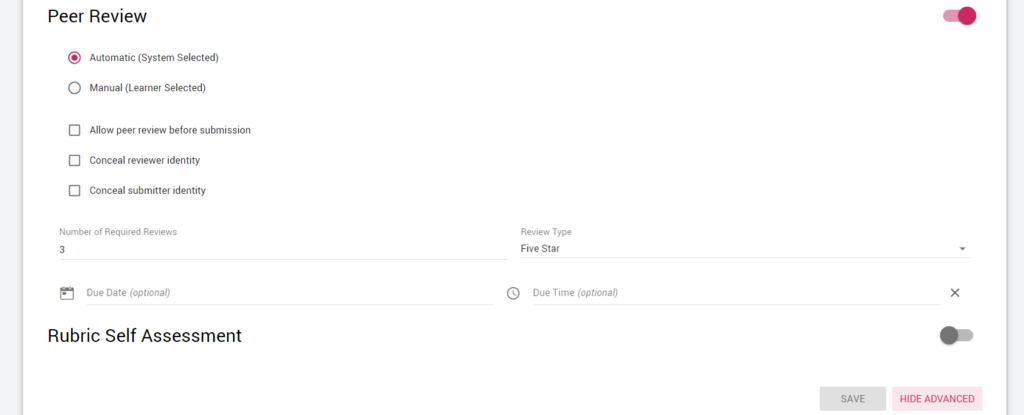
Once you are finished, click Save.
Step Three: Create a link in the Content Area.
NOTE: Your students will NOT see your video assignment unless you add it to the Content tool.
- Click on Content on the NavBar and either:
- select the appropriate module to add the video assignment
- create a new module to add the video assignment
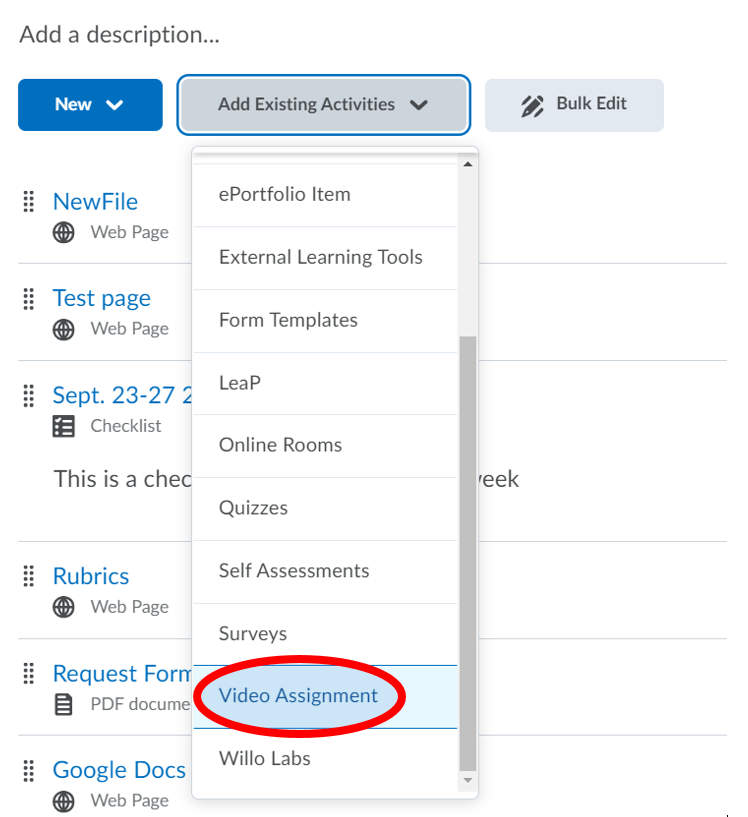
- Click on Add Existing Activities and choose Video Assignment, as shown below:
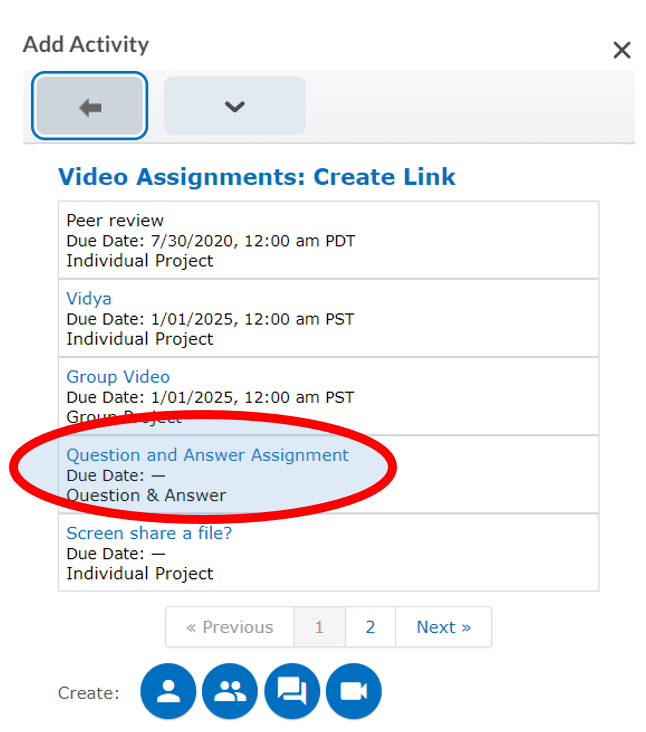
- Locate your video assignment and select it.

4. Once selected, it will show in your module similar to the example below:

Notes:
- Click the Video Assignment to grade student submissions or check the progress of your students.
- Students can follow this job aid to record and upload their video assignment.
- “Third-party cookies” must be enabled in the Browser.
Step Four: Add and Configure the Grade Item.
Click on the Video Assignment and then scroll down all the way to the bottom until you see the Assessment Area
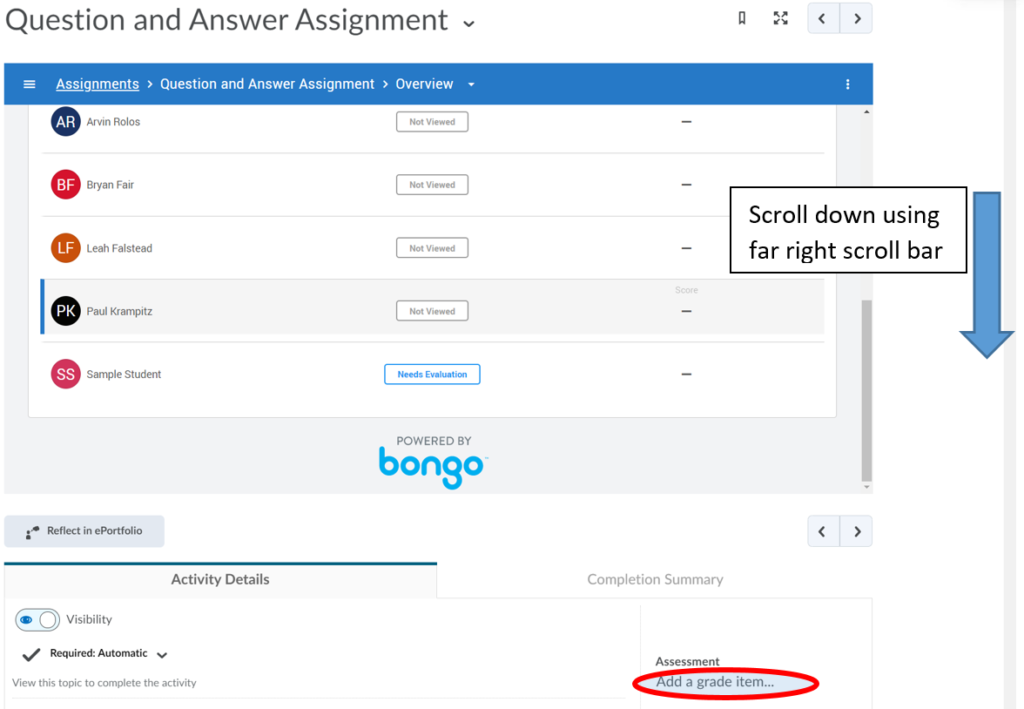
Click the word “Add a grade item…” as shown above. Click the “+” as shown below
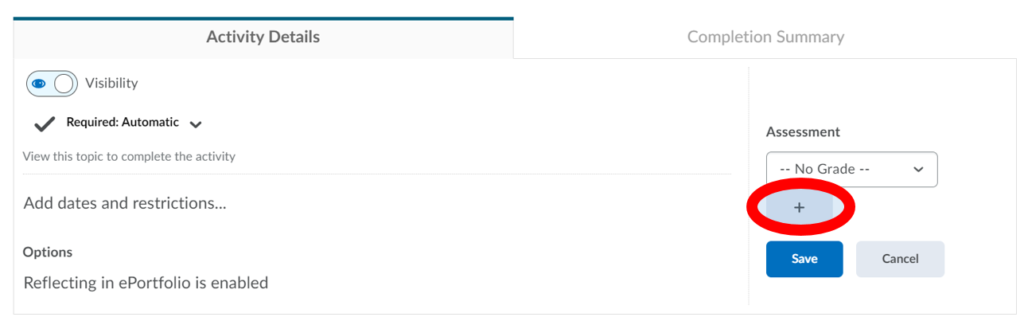
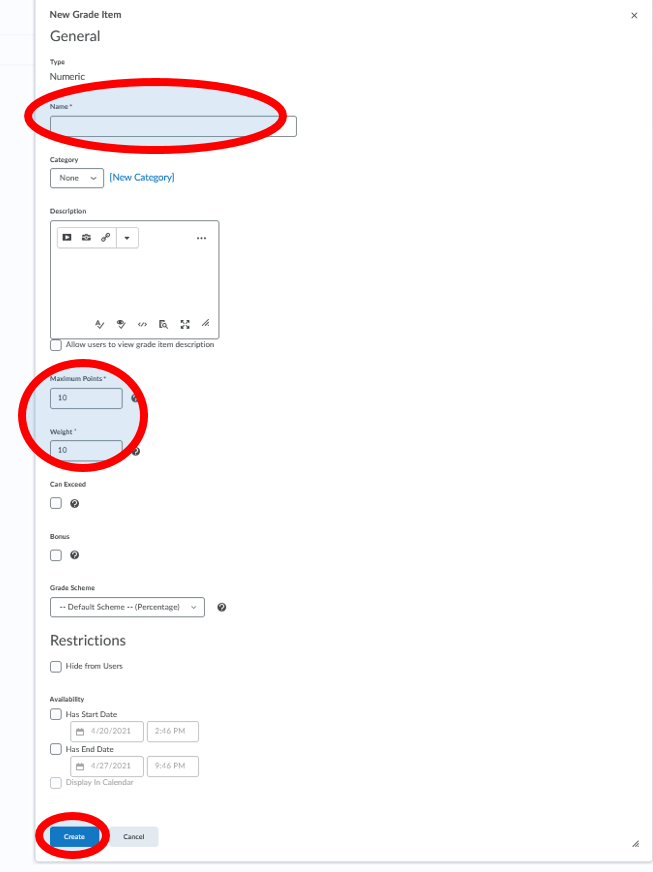
If you choose to create a Grade Item then you will be required to give it a name, the maximum number of points the assignment is out of and its weight (and any other custom options). After that, click ‘Create‘.
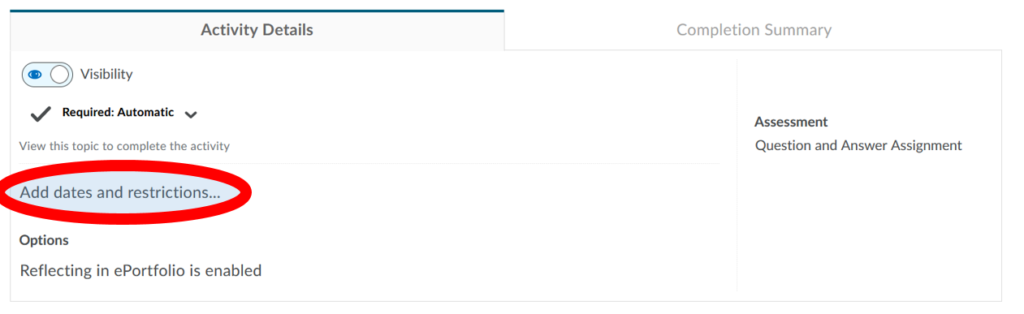
Step Five (optional): Set Start. End, and Due Dates.
To set the due date so that it appears in the course Calendar where students can see it, click on “add dates and restrictions”.
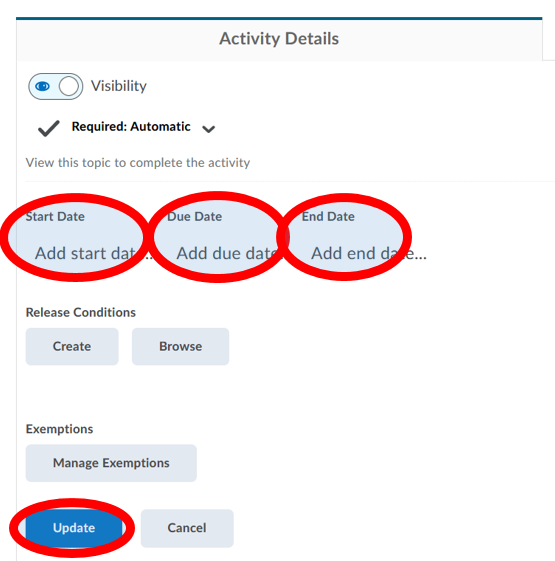
Choose your start date, due date and end date, then click “Update“. The start and end date refer to the period when the assignment is accessible. Outside of this period, the assignment name and dates are listed in the module but the assignment is not accessible.
Related Posts
