


- Resource
- Content - Instructor
- Update a New File (Web Page/HTML)
Update a New File (Web Page/HTML)
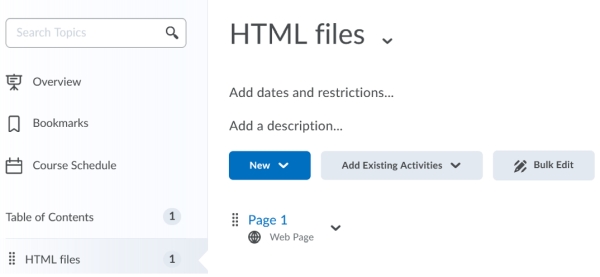
When you use “Create a File” in the Content Tool of the Learning Hub, you are creating a web page/HTML file. The below steps detail the process to update a web page/HTML file in the Content Tool while preserving the original version. This tutorial assumes that the file being updated is already displayed in the Content Tool. If you are not familiar with the Content Tool, please refer to the job aids first.
Step 1: Copy the HTML code from the web page file you want to update.
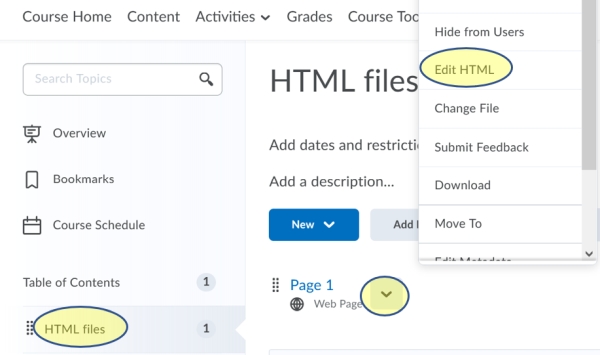
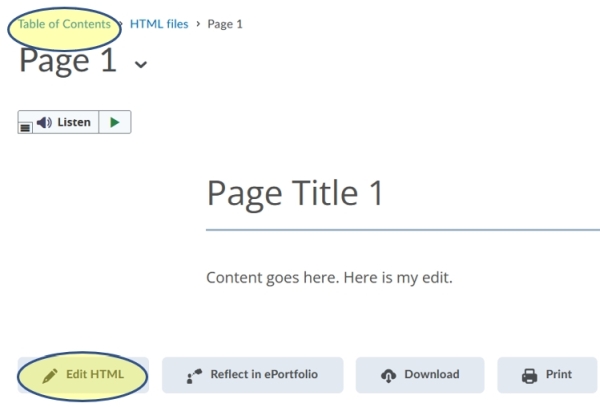
1. From the Content Tool, click the module the web page file is located in. Click the caret beside the file and then click “edit HTML” in the context menu.
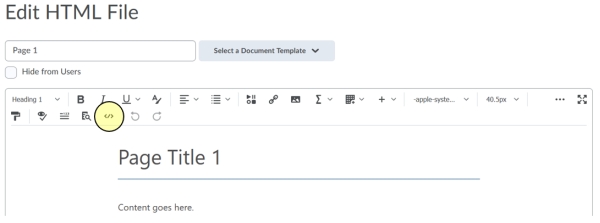
2. Click the “more actions” icon (ellipsis).

3. Click the “source code” icon.
4. Click inside the source code window. Be careful not to change anything. Highlight and copy all text. To highlight on a PC, press CTRL + A. To copy, press CTRL + C. On a Mac, press Command + A. Then press Command + C.
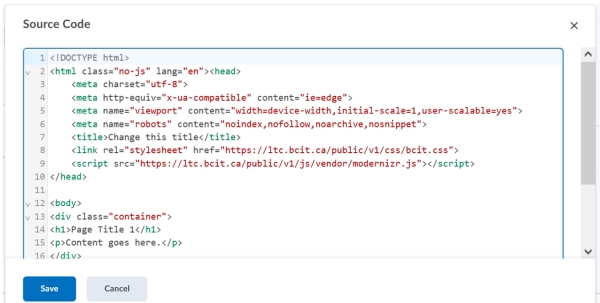
5. Press the “cancel” button (above image) to return to the main edit window (below image).
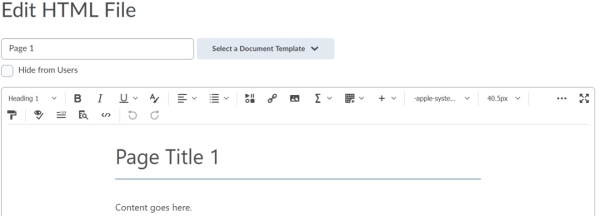
6. Press the “cancel” button again to return to the table of contents. Proceed to step 2.
Step 2: Paste the HTML code in a new file and update it as applicable.
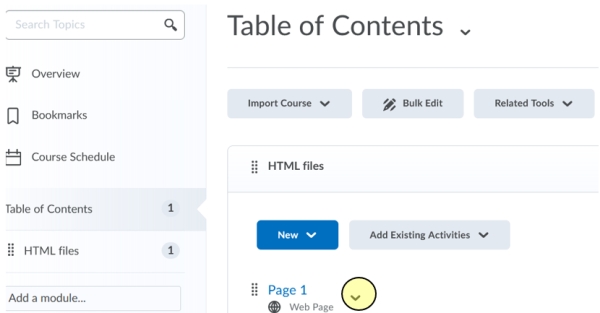
1. Click the caret beside the web page you want to update.
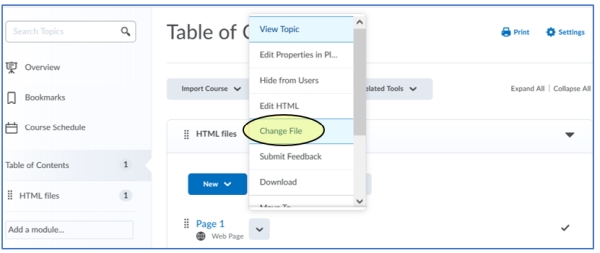
2. Click “change file”.
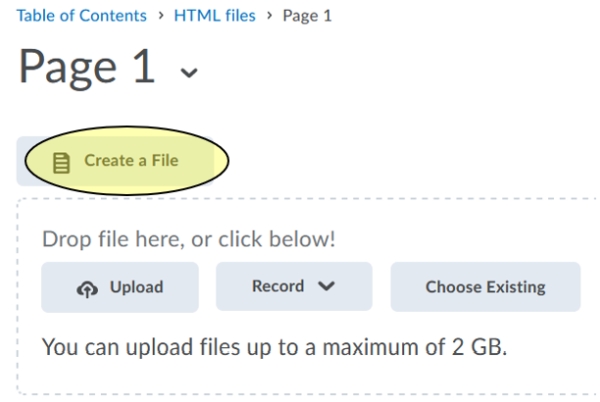
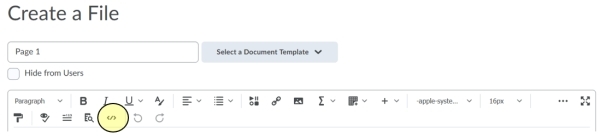
3. Click “create a file”.
4. Click the “more actions” icon (ellipsis).

5. Click the “source code” icon.
6. Click inside the source code window and highlight the text: On a PC, press CTRL + A. On a Mac, press Command + A.

7. Paste the code you copied from the original HTML file: On a PC, press CTRL V. On a Mac, press Command V.
Note: If you do not see all the original code being pasted. Repeat the steps to copy and paste the code.
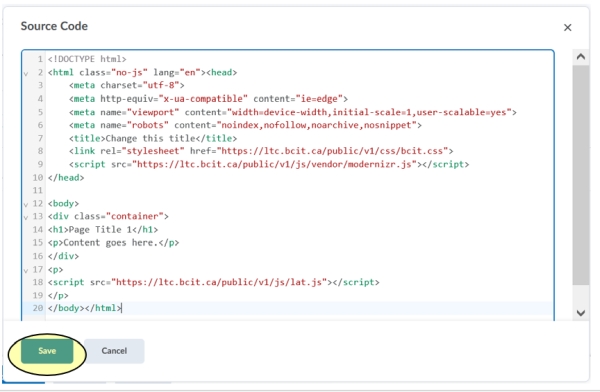
8. Click the “save” button.
9. Make your edits. When finished, optionally check mark, “notify students that the content has changed” and add a summary of the changes. Regardless of whether you choose this option, click “save and close”.
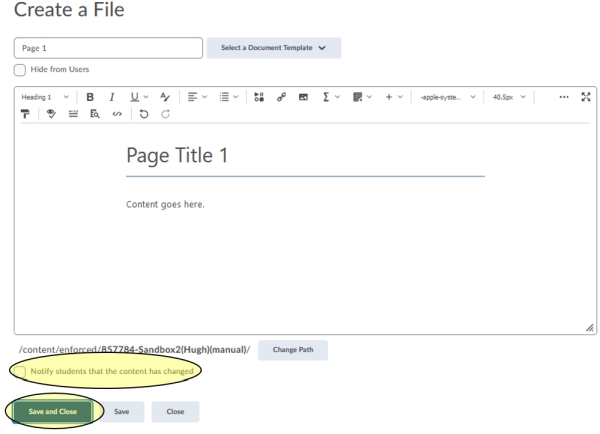
10. On the “duplicate files” window, make sure “create a new file” is selected and then click “save”.

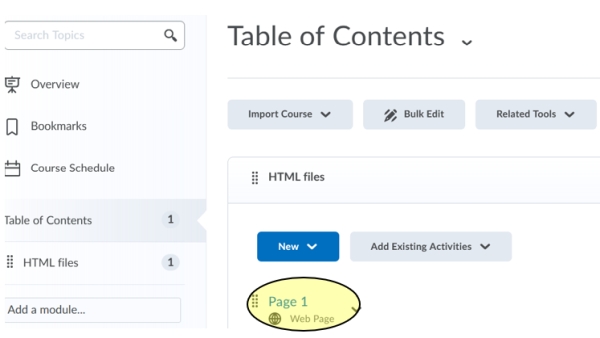
11. The new version now appears in place of the old version in the table of contents.
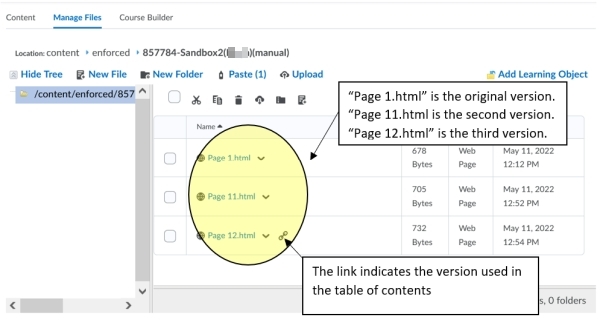
12. In Manage Files, a copy of each version is kept. If you are not familiar with Manage Files, see the job aid.
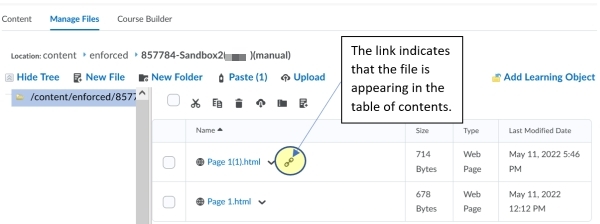
For the example below, using the Page 1.html file, an additional number “1” appears in the filename for the first copy. The number “2” appears in the filename for the second copy…. and so on.
For advanced users who are versed in the Content Tool and Manage Files Tool, you can update a web page/HTML file (in the Content Tool) while preserving the original version by using Manage Files and the Content Tool as described below.
Optional - Advanced User Tutorial
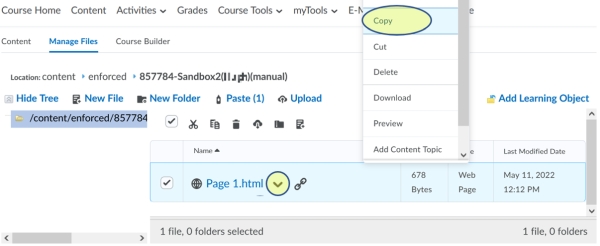
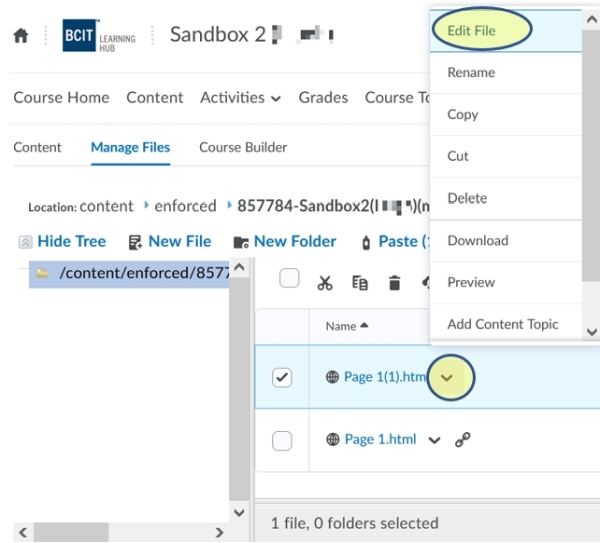
1. From “Manage Files”, click the caret beside the file you want to update and select “copy” from the context menu so you can keep the original version.
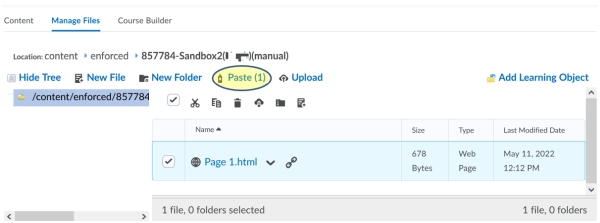
2. Click the “paste” button.
3. Take note that a copy of the file now appears in “Manage Files” with “(1)” in the filename.
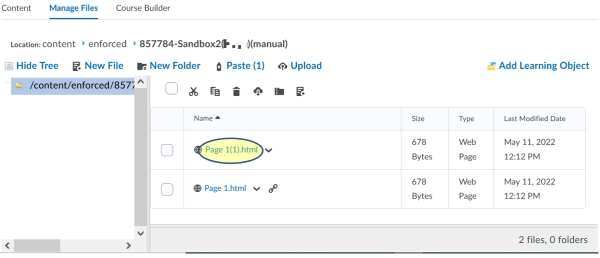
4. Click the caret beside the copy and select “edit file” from the context menu.
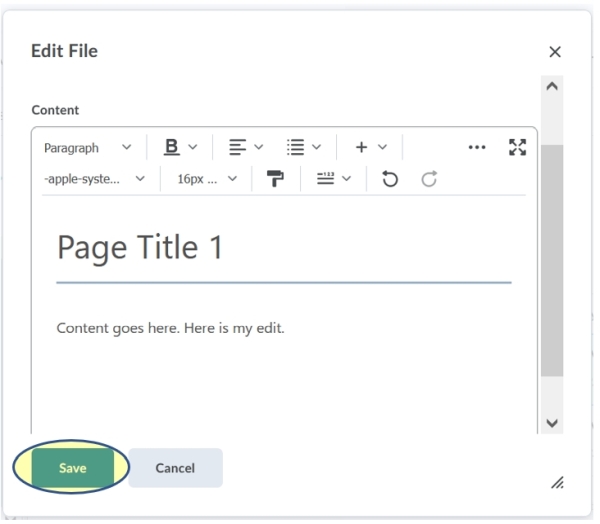
5. Update the file as applicable. Then click the “save” button.
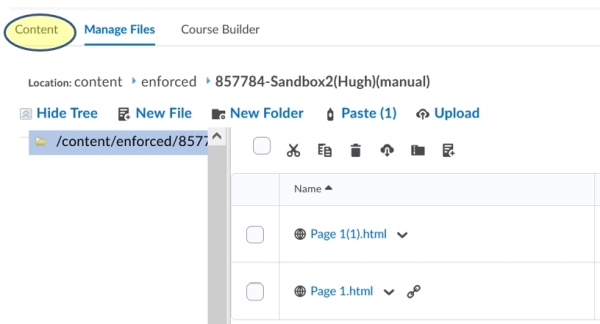
6. Click the “content” tab to go to the Content Tool where you will change the file to the updated version.
7. Locate the file that is being updated, click the caret beside the filename and then click “change file”.

8. Click the “choose existing” button.
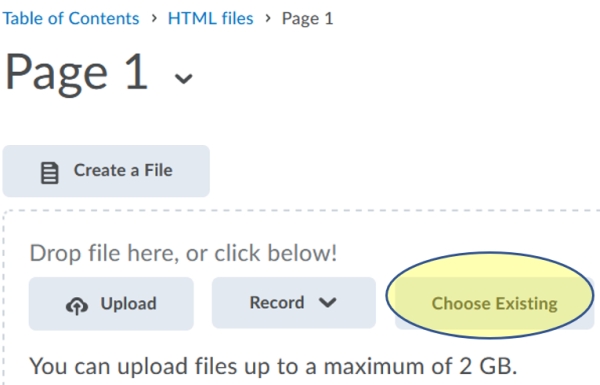
9. Click “course offering files”.

10. Check mark and add the updated file.
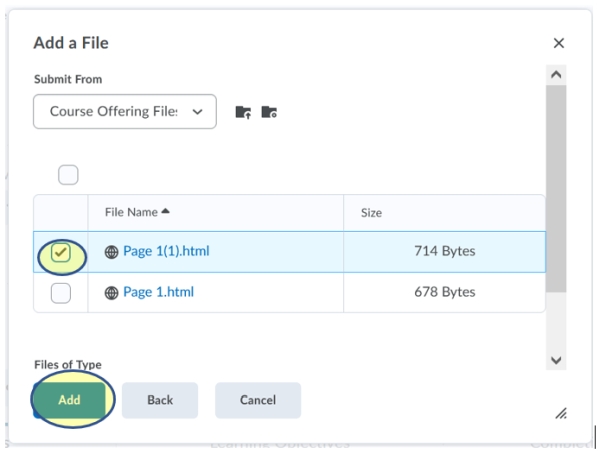
11. Click the “update” button or optionally, check mark “notify students that the context has changed” and provide a summary. Then click “update”.
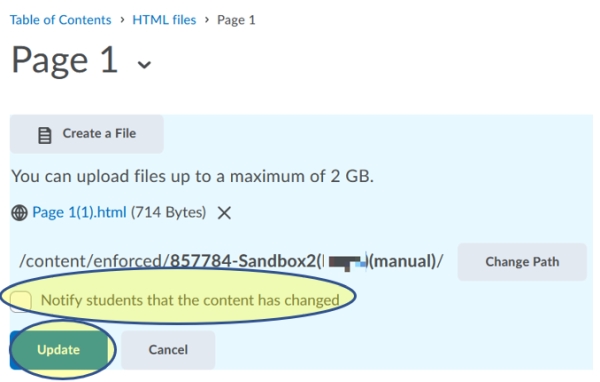
12. At this point your update is complete. You can either go back to the table of contents or optionally edit the file as shown below.
13. If you chose to go the table of contents, below is how the file appears.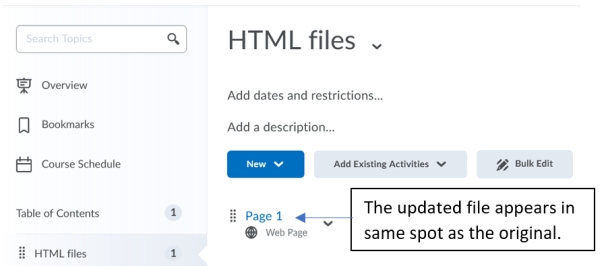
14. Take note of how the updated and linked file and the original file appear in Manage Files.
Related Posts
