


- Resource
- Uncategorized
- Kaltura Media Gallery – Managing Media
Kaltura Media Gallery – Managing Media
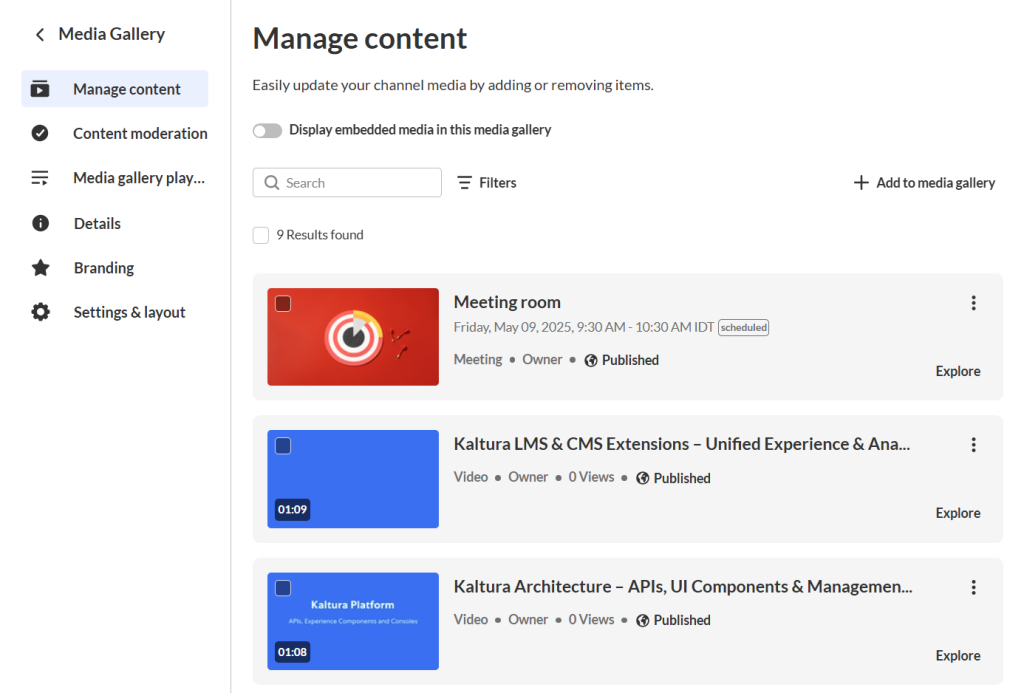
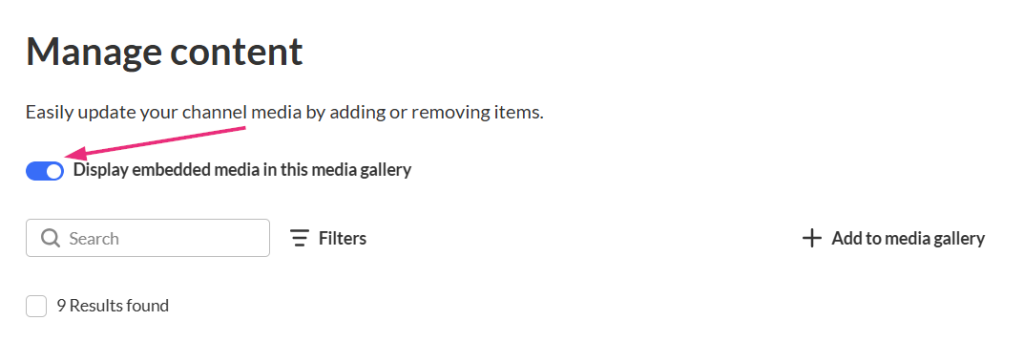
Use Manage content to control the media that appears in your media gallery. From this page, you can add media, remove media, organize content, and perform bulk actions – all from a single, media-focused view.
Access Manage Content
From inside a course Media Gallery, click Actions and select Manage content.
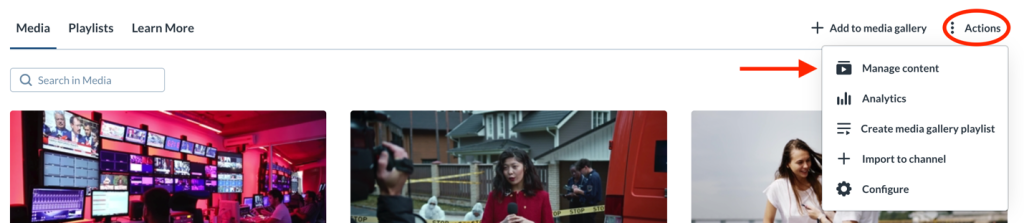
The ‘Manage content’ page will display.
Add Media to the gallery
Adding media from My Media
- Click Add to media gallery.
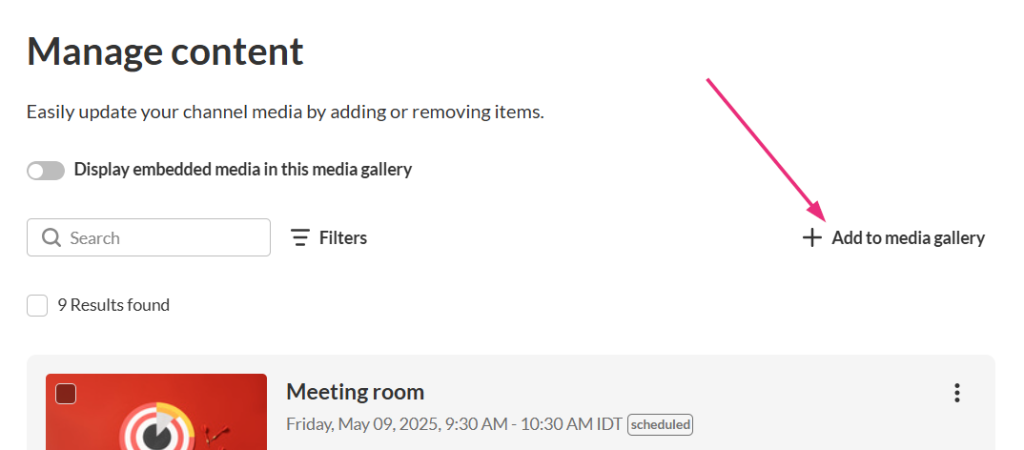
- The media selection window displays.
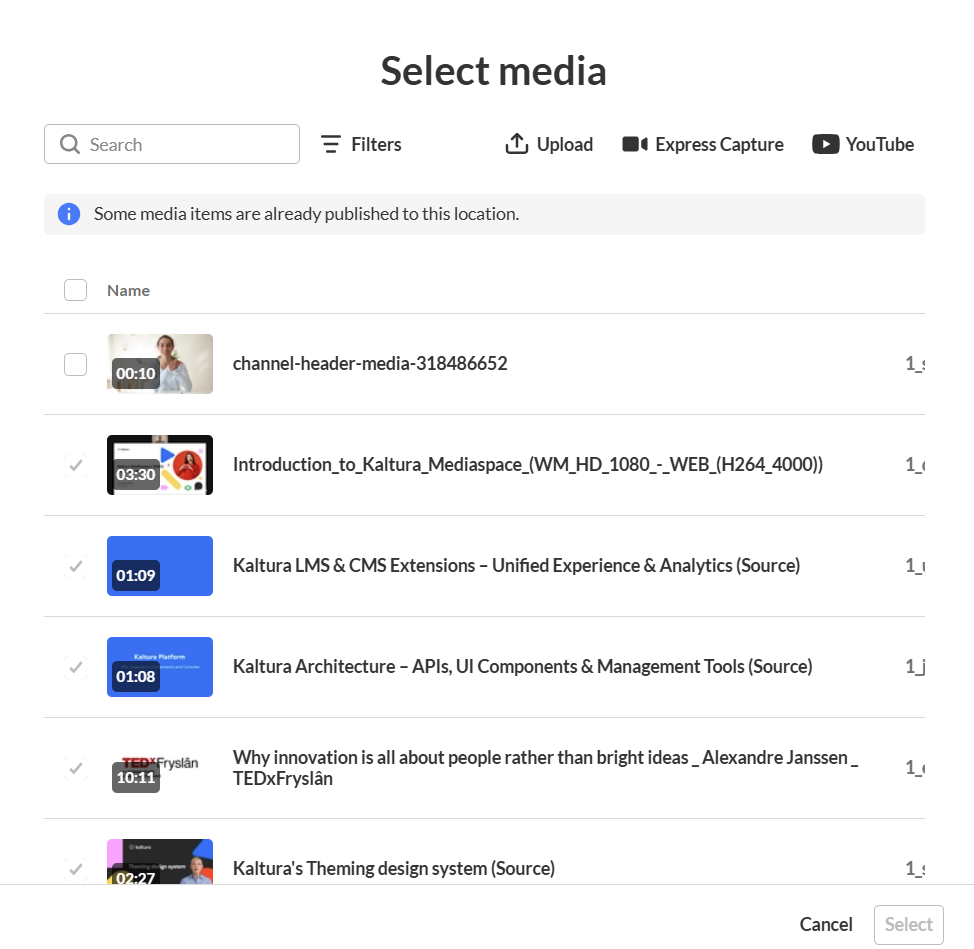
- To include embedded media from your course, turn on Display embedded media in this gallery.
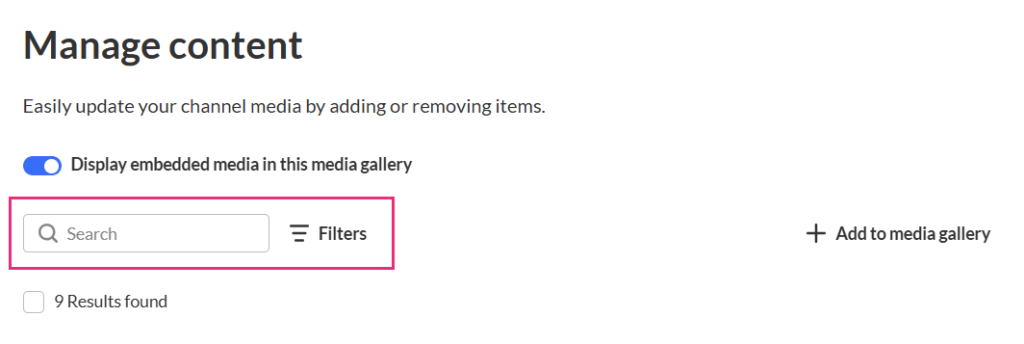
- You can use the tools at the top of the media selection page to manage large galleries:
- Search by media name
- Filter by media type
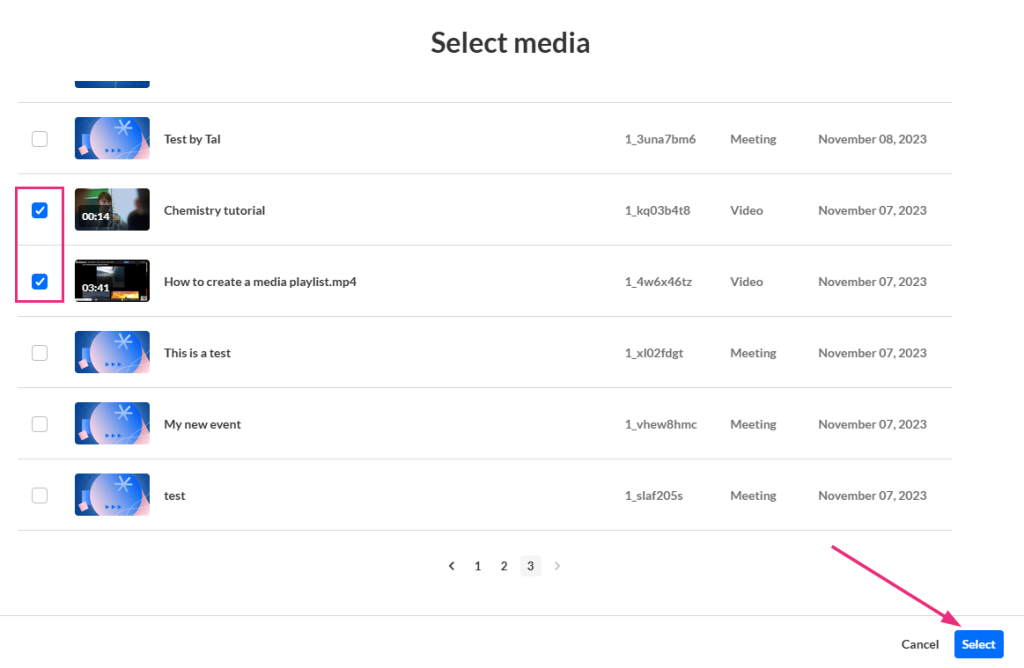
- Check the boxes next to the items you want to add to the media gallery.
- Click Select at the bottom right.
- The selected media is added to the channel and appears in the list.
Add new media
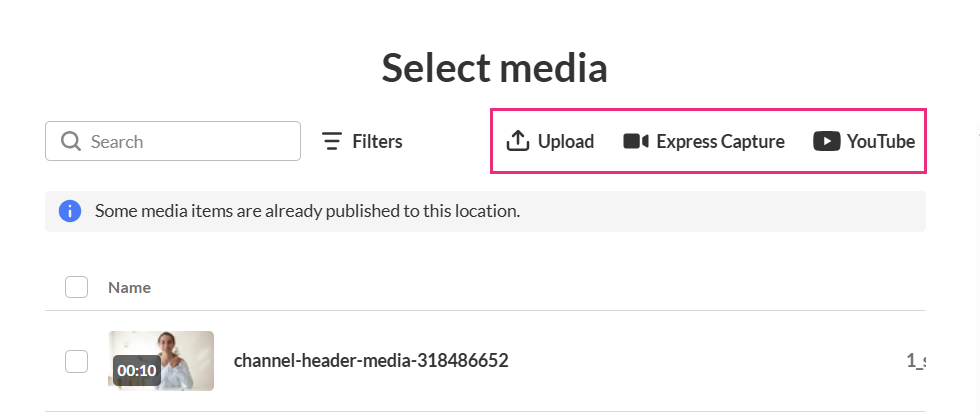
Need to upload or record a new entry? You can create a new entry by clicking one of options on the top right.
- Upload – Upload one or multiple media files from your computer at once.
- Express Capture – Create a recording using Kaltura Express Capture.
- YouTube – Create a new entry using a YouTube video.
Created Entries Saved to My Media
Each new entry that is created will automatically be saved inside your My Media repository.
Remove Media from the gallery
Remove a single item
- Click the three-dot menu to the right of the item you want to remove and select Remove from channel. (Removing media from the media gallery doesn’t delete it from My Media.)
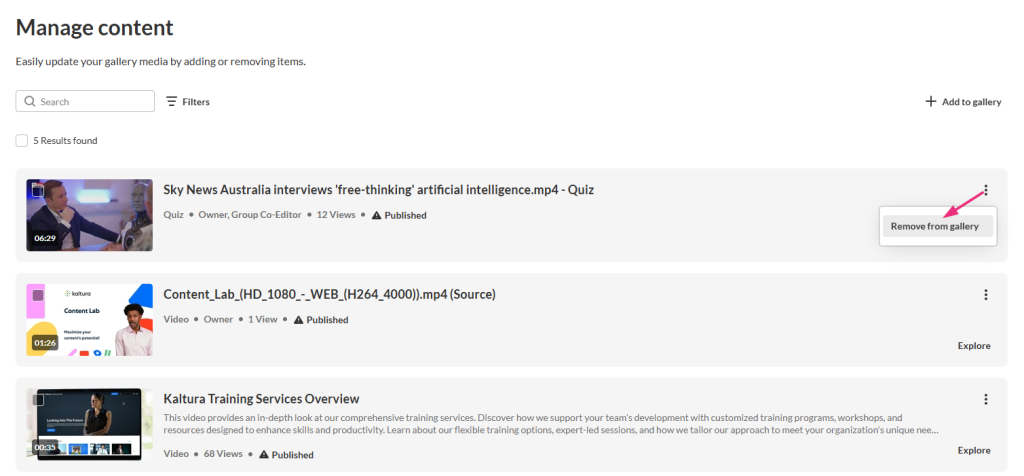
- A confirmation message displays: Are you sure you want to remove these items from your channel?
- Click Remove to continue.
Remove multiple items
- Check the boxes next to the desired items.
- Click Remove from channel at the top right of the page.
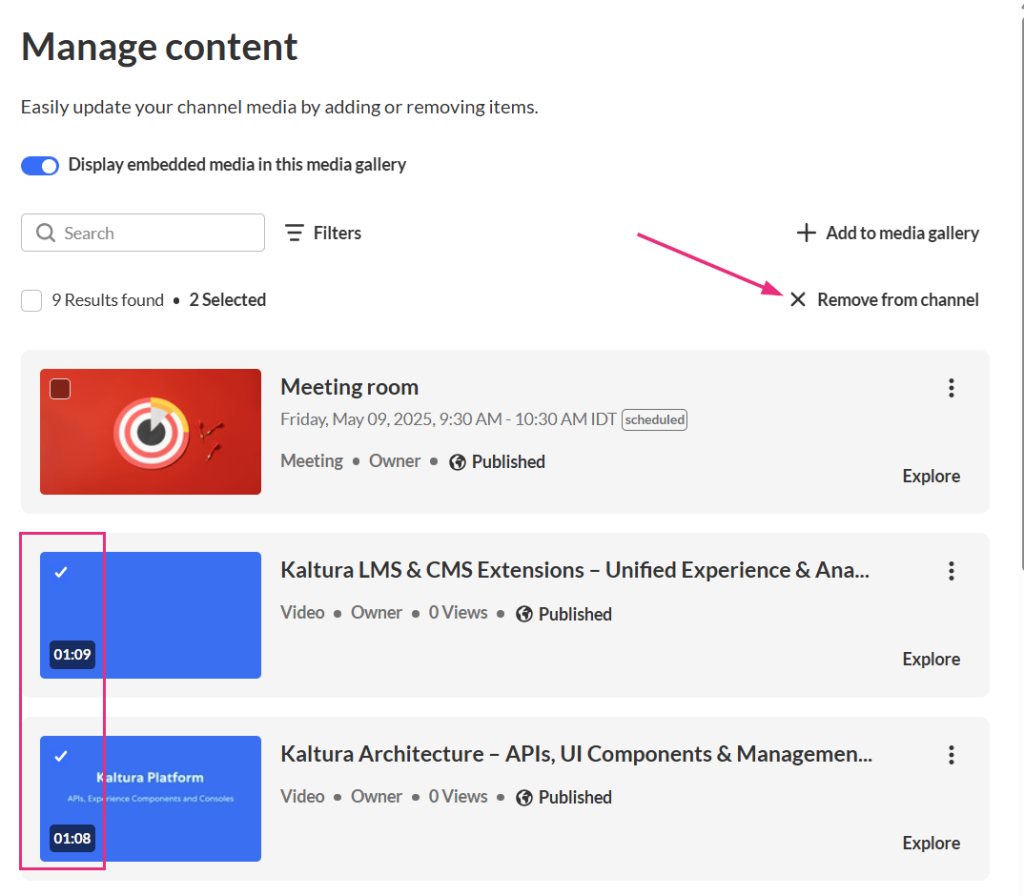
- A confirmation message displays: Are you sure you want to remove these items from your channel?
- Click Remove to continue.
Related Posts
