


- Resource
- Uncategorized
- Kaltura – Publishing Media
Kaltura – Publishing Media
Kaltura entries can be published into different areas of a Learning Hub course depending on where you want them to appear.
Use the methods listed in the Course Media Gallery section if you want your media displayed inside a course Media Gallery.
Use the method listed in the Browse and Embed section if you want your media to appear in either the Content, News, Quizzes, Assignments or Discussions tools of a Learning Hub course.
Course Media Gallery
Publishing Methods in this section
- Methods 1 to 3 are accessed from Kaltura My Media.
- Method 4 is accessed from Kaltura Media Gallery.
Method 1 – Publish from My Media
Use My Media to publish one or multiple entries directly into a course Media Gallery.
- Open My Media from the myTools menu in your course.
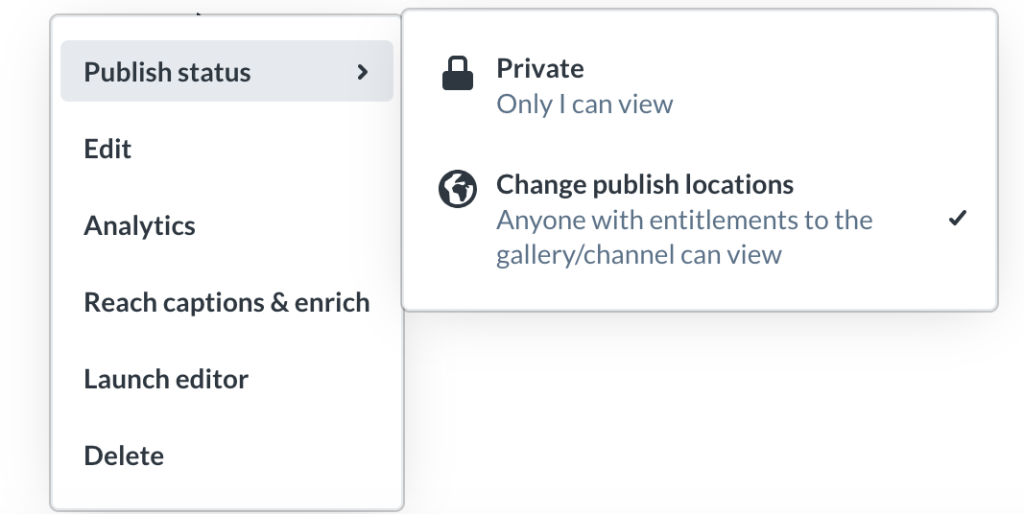
- For a single entry, open the ellipses (…) menu and select Publish status.
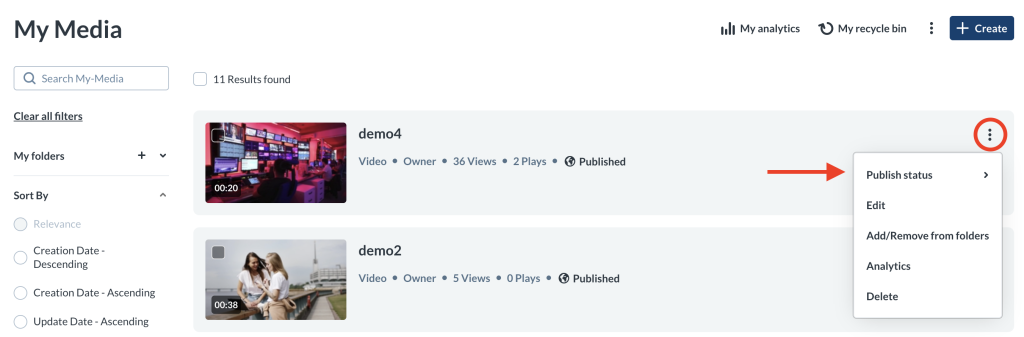
- Choose Change publish locations

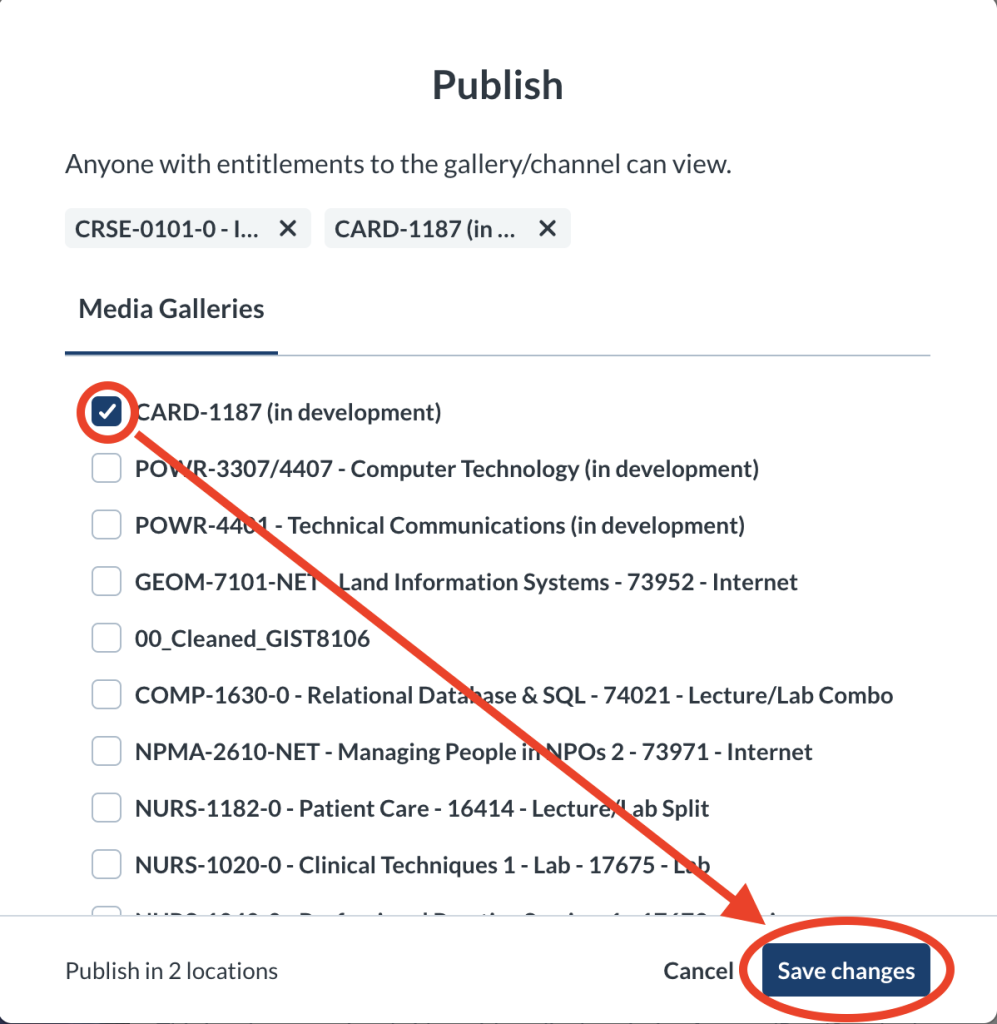
- Select the target Media Gallery, and click Save Changes.

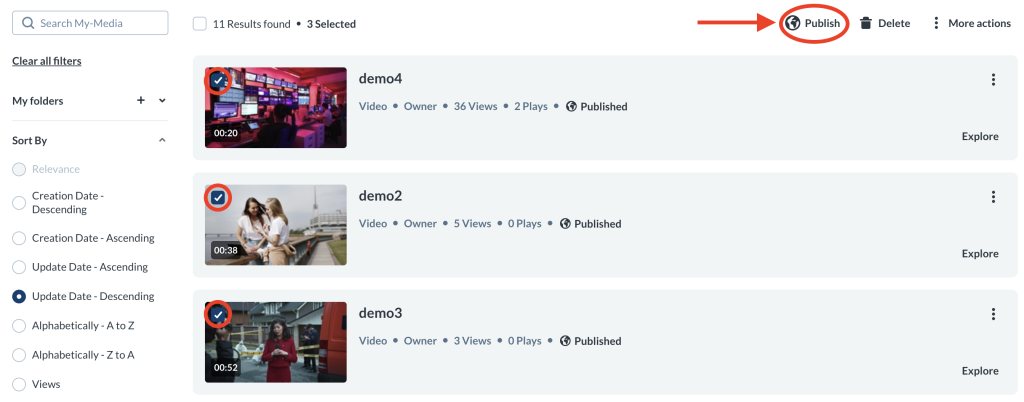
To publish multiple entries
- Select the checkboxes next to the entries.
- Click Publish at the top and then follow steps 3 and 4 above.
Method 2 – Publish from the Edit Page
Use the Publish tab on an entry’s Edit Page to publish the entry into course Media Galleries.
- In My Media, open the ellipses (…) menu for an entry and select Edit.

- Go to the Publish tab.

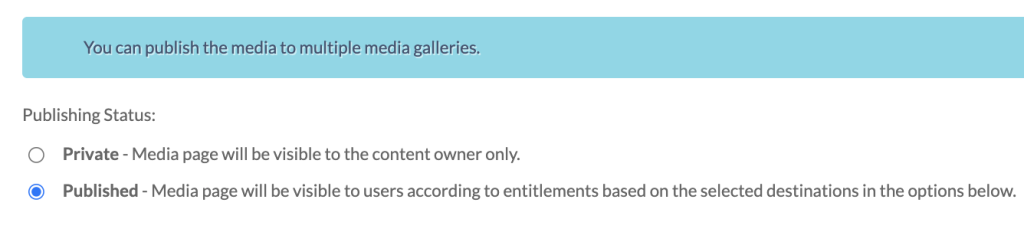
- Under Publishing Status, select Published.
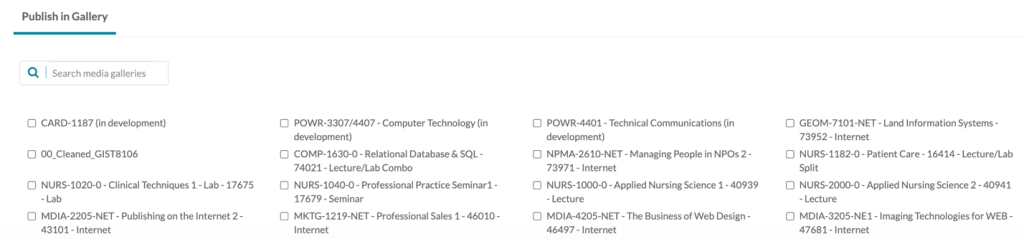
- Choose the Media Galleries you want the entry to appear in, then click Save.
Method 3 – Publish from the Preview Page
The Preview Page provides another quick way to publish an entry.
- In My Media, open the entry by selecting Explore → Go to media.
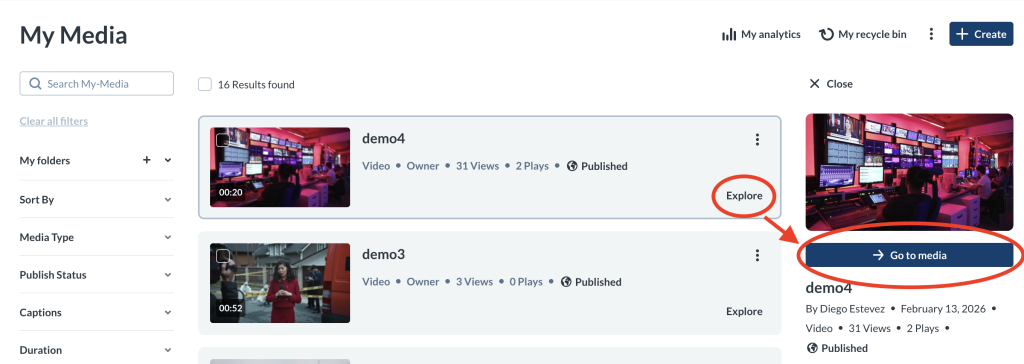
- In the Preview Page, open the ellipses (…) menu.

- Select Publish status, then Change publish locations.
- Select the course Media Galleries and click Save Changes.
Method 4 – Publish from the Course Media Gallery
Publish entries directly from within a course’s Media Gallery.
- Open the course Media Gallery from the Activities menu of a course.
- Click + Add to Media Gallery.
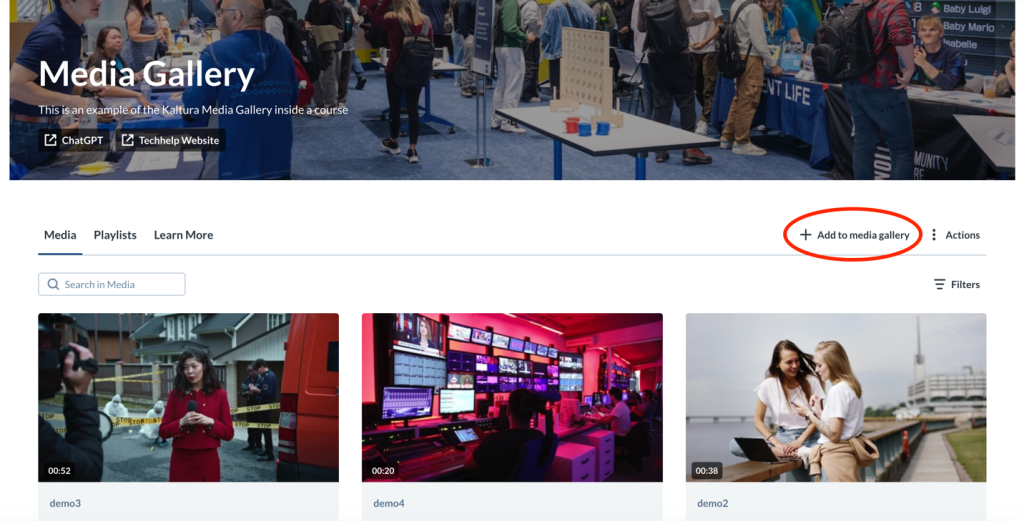
- A list of all entries in from your Kaltura My Media will appear. Select the entries you want, then click Select.
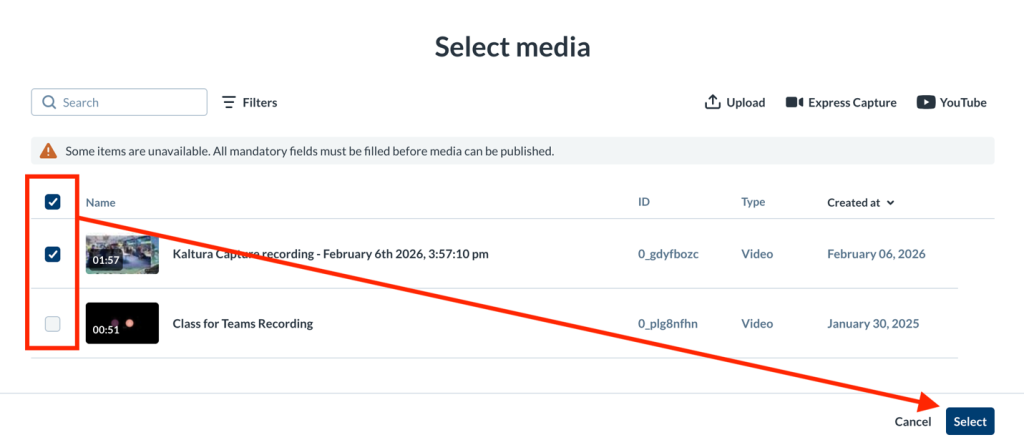
Missing Metadata
If an entry cannot be selected, it is missing required metadata. To fix this, update the entry’s metadata inside My Media before trying again. See Kaltura My Media – Metadata for details.
Browse and Embed
Method 1 – Embed Using Insert Stuff
Use Insert Stuff to embed Kaltura entries into any Learning Hub tool that displays the Insert Stuff icon.
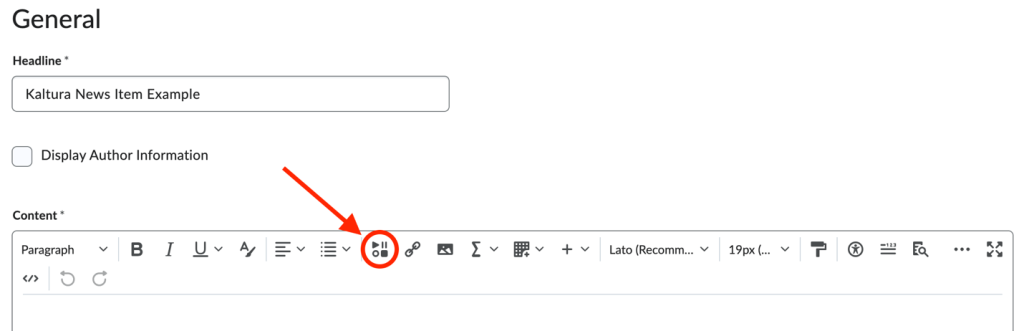
- Open a Learning Hub tool that includes the Insert Stuff icon.

- Click Insert Stuff.
- Select Embed Kaltura Media.

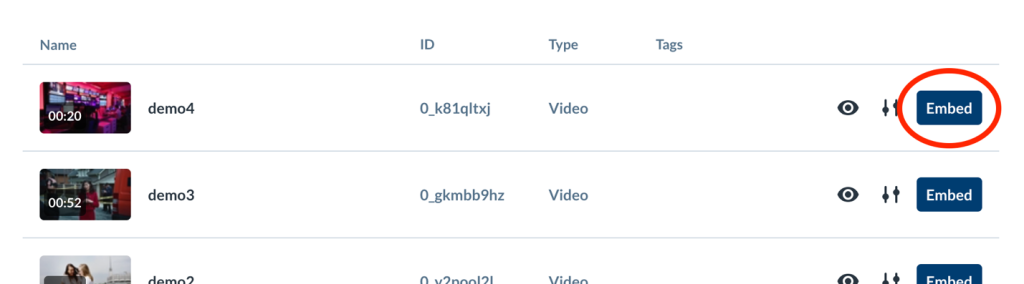
- A modal box will display all entries from your My Media repository.

Insert Stuff
You can also embed playlists or entries already published to the Media Gallery. See Kaltura BSE – Insert Stuff for more information.
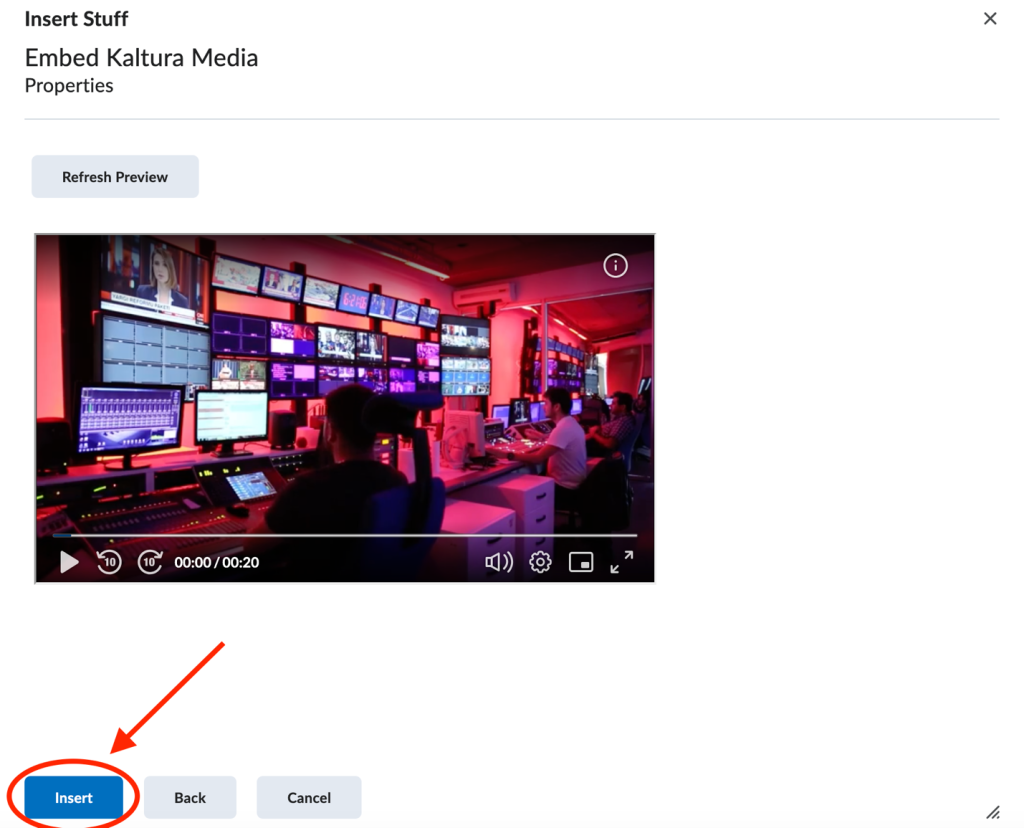
- Click Embed next to the desired entry to preview it.
- Click Insert to add the media to the tool.
- Complete the process by clicking Publish, Save and Close, or the equivalent action for the tool you’re using to finish inserting the entry.
Method 2 – Embed Kaltura Media (Content Area Only)
Use this method to add Kaltura entries directly into the Content area of a Learning Hub course.
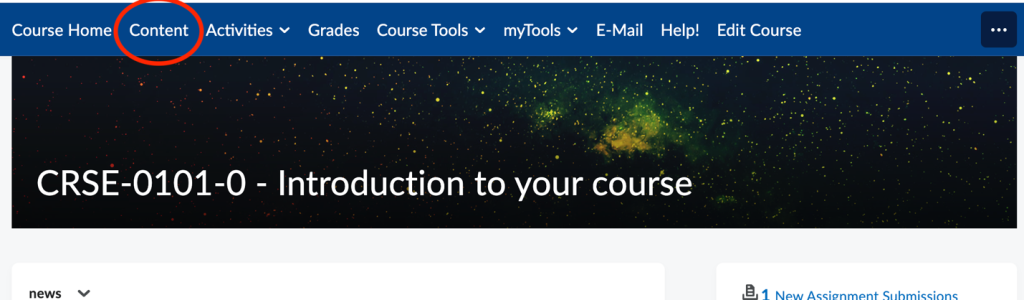
- Select Content from the top navigation of your course.
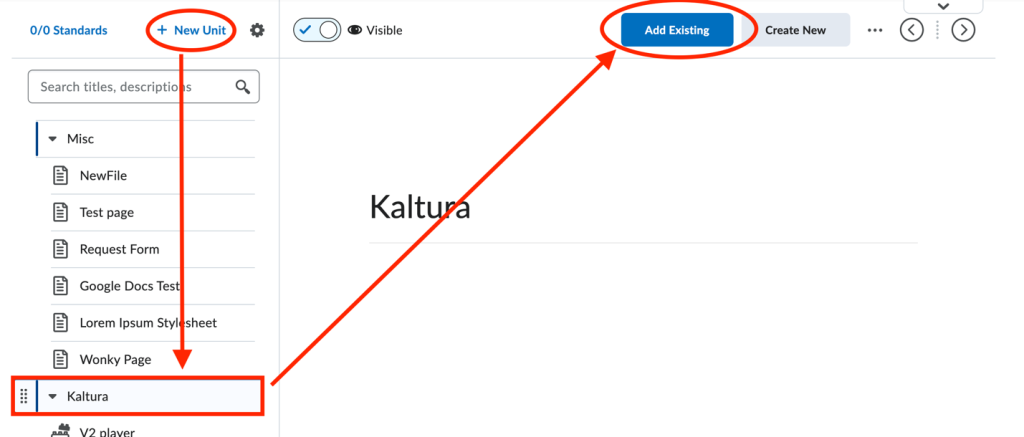
- Create a new unit with + New Unit, or open an existing unit.
- Click Add Existing.
- Choose Embed Kaltura Media.
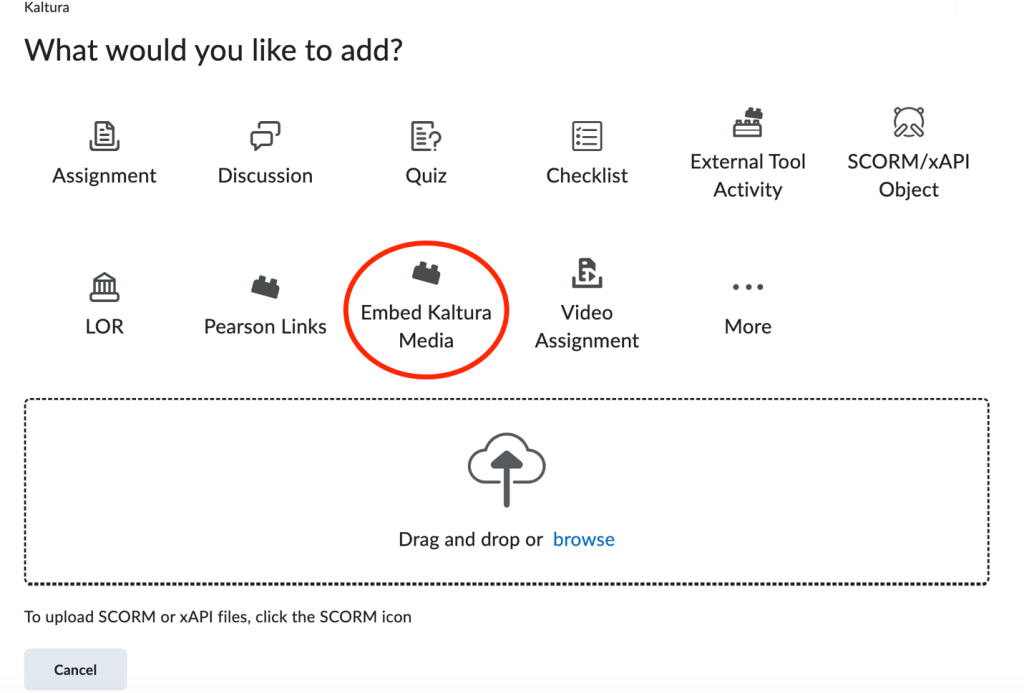
- A modal box will appear showing all entries from your My Media repository.
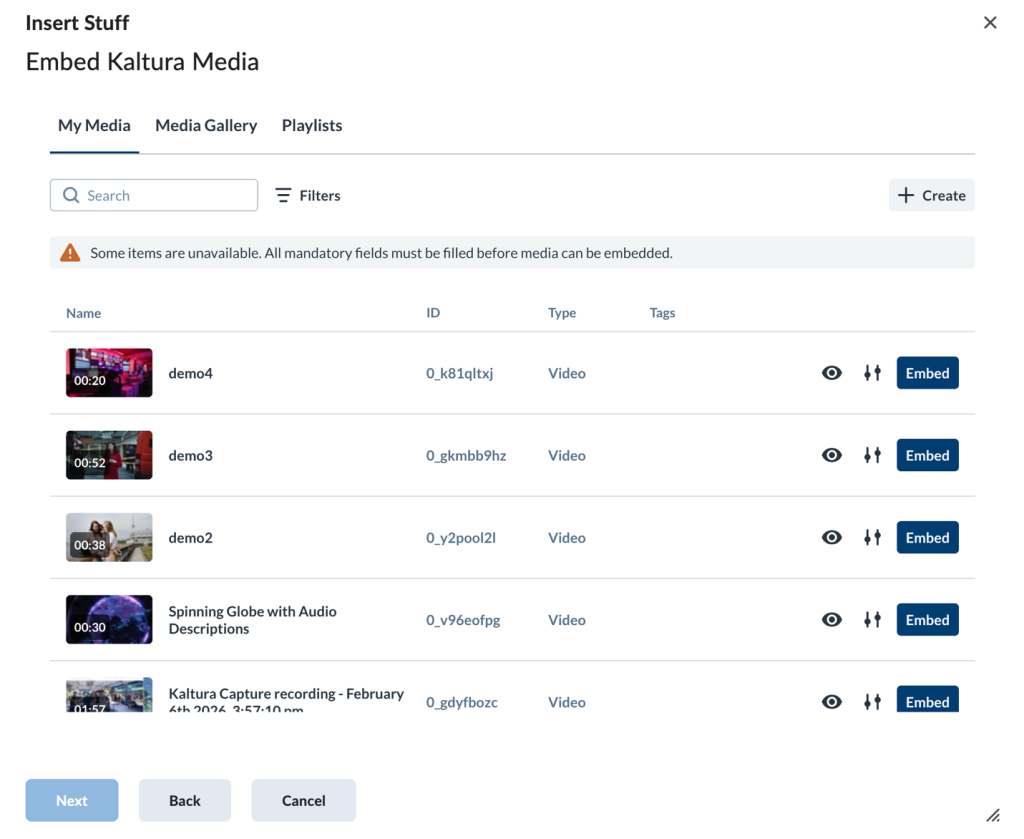
Kaltura Embed Media
As with the Insert Stuff method mentioned above, you may also embed playlists or entries already published to the Media Gallery. See Kaltura BSE – Kaltura Embed Media for details.
- Click Embed next to a chosen entry.

- The entry will be added as a content item within the unit where you can optionally apply any other additional settings like a release conditions or date restrictions.
Related Posts
