


- Resource
- Uncategorized
- Kaltura BSE – Insert Stuff
Kaltura BSE – Insert Stuff
Embed Kaltura media using the Learning Hub Insert Stuff tool. You can go to any area inside the Learning Hub which has a rich text editor, this can be a quiz, an assignment, a news item or etc.

When using a Learning Hub tool with the text editor look for the Insert Stuff Icon.

Click the Insert Stuff button.

Once the Insert Stuff window displays, scroll down and click on Embed Kaltura Media.

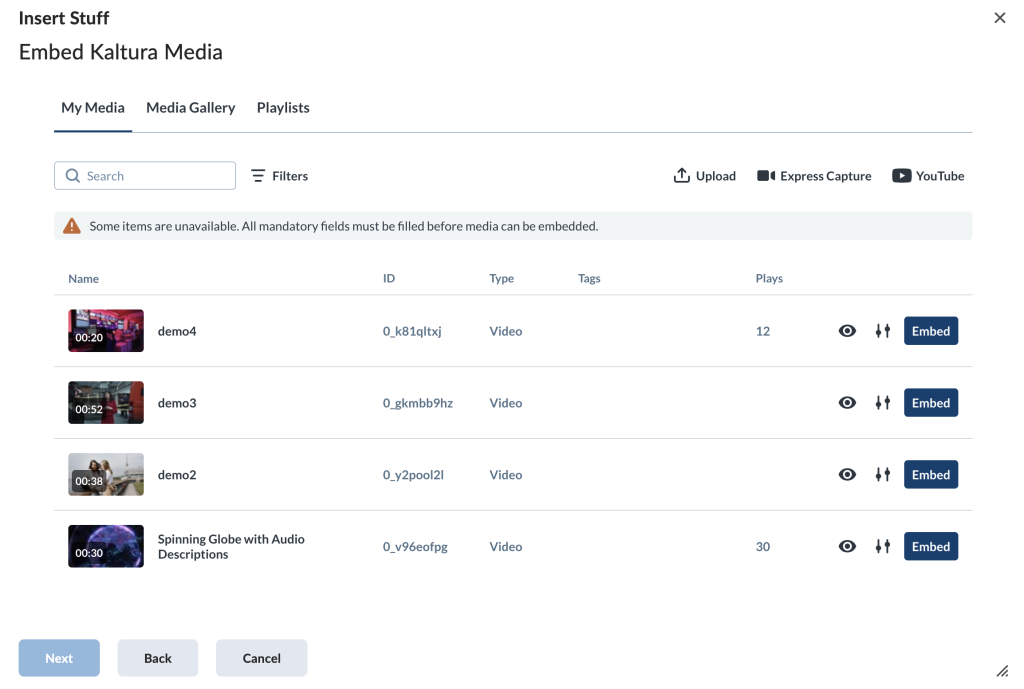
The Embed Kaltura Media window will open displaying Kaltura media entries from several sources. Each entry will have the following columns: ID, Type, Tags (if applicable), Plays, a preview icon (represented by an eye), a settings icon and a button labelled Embed.
Missing Metadata
The Embed button may be greyed out if the appropriate metadata for the entry has not been completed. For details, please see Kaltura My Media – Metadata
About Embed Kaltura Media
Browse and Search
In the Embed Kaltura Media window, you can browse and search existing media across different repositories, or you can create or upload new media (see Add New Media below).
Repositories which are available are represented by the following tabs:
- My Media – Your personal uploaded media.
- Media Gallery – Media from the current course’s Media Gallery. You can embed any video regardless of if you are its creator or not.
- Playlists – Media Gallery playlists available in the current course.

You can use the search bar and filters to locate content. Searching playlists is limited to text-based fields such as name, description, and tags.

The My folders option will appear in the filters if you have created folders for your media in My Media. You can use it to view only the media stored inside specific folders which you have created (See Kaltura My Media – Folders for details).

To preview more details, click the eye icon next to a media item. The sidebar will display a playable preview and some details about the entry (title, tags, duration, etc.).

Add new media
Embed Kaltura Media will allow you to upload a new video or entry if needed. To do so use one of the options at that display on the top right corner.
The following options available are:
- Upload – Upload one or more media files directly from your computer. See Kaltura My Media – Uploads for details.
- Express Capture – Record a new entry using your webcam. See Kaltura My Media – Express Capture for details.
- YouTube – Link YouTube video. See Kaltura My Media – YouTube for details

Once the upload is complete, click the settings icon to adjust embed options
Small Screens
On smaller screens, the Upload, Express Capture and YouTube tools are grouped under the +Create button.

Customize Embed (Optional)
In the Embed Kaltura Media window, locate the media you want and click the settings icon.

When embedding media, you can configure the following:
- Select a player – Choose the player you want the media to be embedded with. See Kaltura BSE – Custom Players for a complete list of the players you can choose from. When you change the selected player, the preview updates automatically to reflect your choice.
- Select video display size – Set the maximum display size of the embedded media from the set options that are available.
- Thumbnail embed – Display a static preview image instead of loading the full video player immediately. This helps improve page load speed which is useful for large videos. Enabling or disabling this option will also update the preview in real time.
- Start video at – You can embed the video to start from a specific time by entering the time according to the format given (00.00). For example, if you want a video to start at 1 minute and 30 seconds into the video, enter 01.30
- Save these settings as default – Enable this option to apply the same settings automatically to future embeds of this media type.

Once you’re ready, click Embed.
Embed
In the Embed Kaltura Media (or Customize Embed) window, click the Embed button.

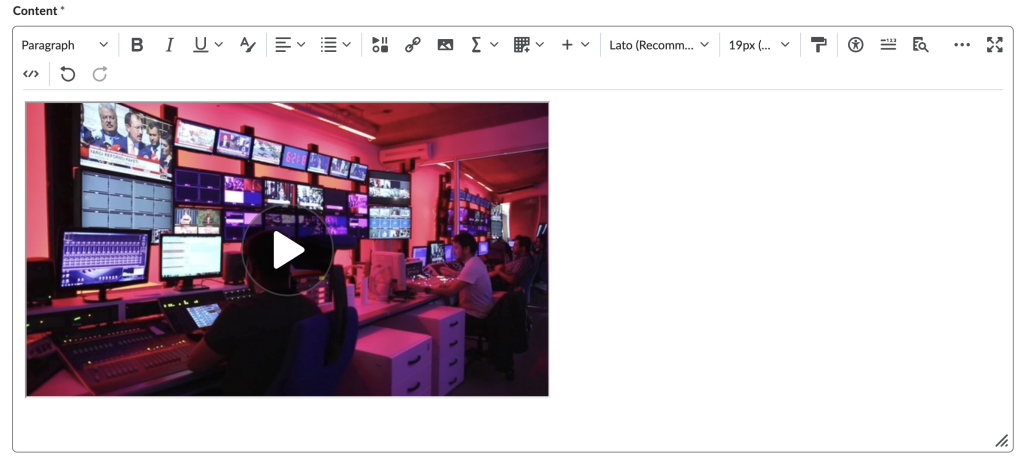
You will see a preview of media entry selected.

Click Insert to embed the into the rich text editor.
Related Posts
