


- Resource
- How To - Student
- How to submit recordings with the Video Assignment Tool
How to submit recordings with the Video Assignment Tool
Your instructor may ask you to create and submit an individual video assignment using the Video Assignment tool. This tutorial will help you accomplish this.
Completing other types of video assignments
For help with completing other types of video assignments (e.g. group, interactive and Q&A), using video tools, resetting your submission, reviewing your peers’ work, and reading your auto analysis report, all of which is not covered in this tutorial, check out the Bongo guide for learners.
This tutorial uses the Chrome browser. Screenshots may vary if a different browser is used.
Device Compatibility
You MUST be on a PC or Mac to do this, mobile devices may not work.
Step By Step Instructions
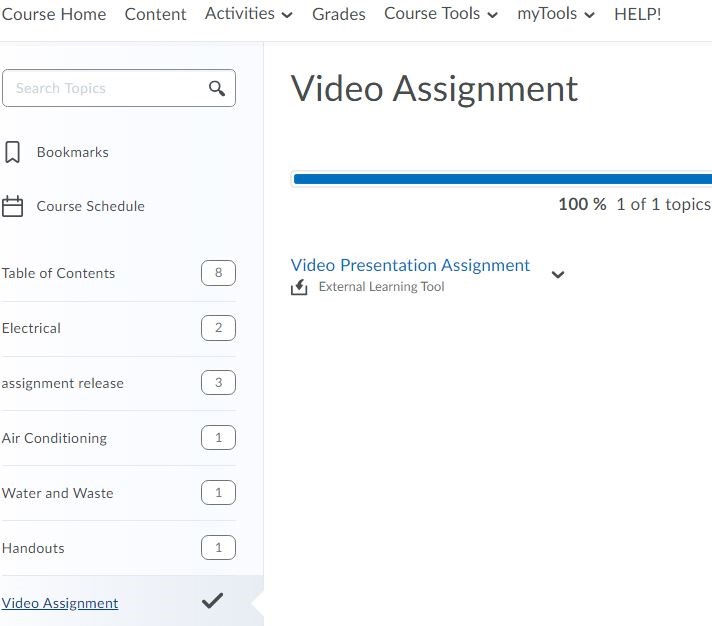
1. Locate the Video Assignment Tool
- Go to the course that has the video assignment.
- Click on “Content” on the top navigation bar.
- Click the applicable module that contains the Video Assignment.
- Click the Assignment to open the tool.
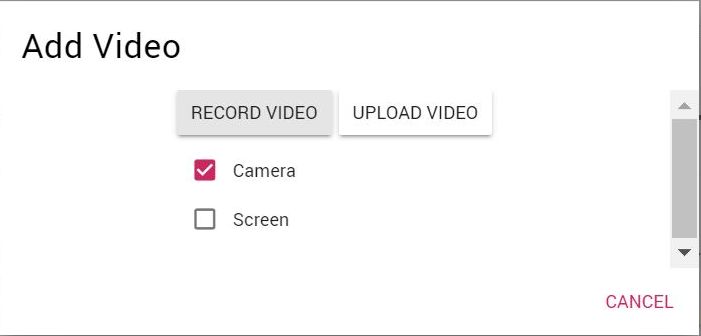
2. Add the Video Option
- Click the “Add” button and then click “Video“.


3. Activate and Configure Camera and Screen Options
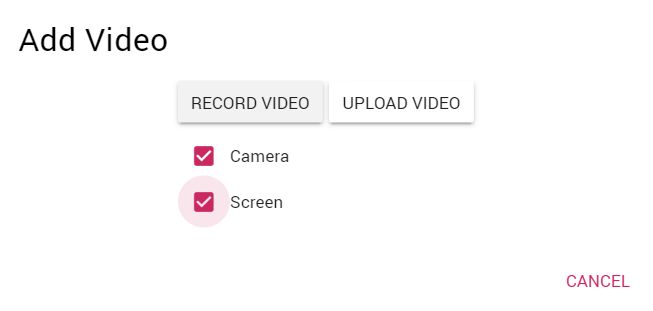
Check off “camera” and then click “record video“. If you also want to record your screen, see steps further below.
If prompted, click the “allow” button to use your microphone and camera.
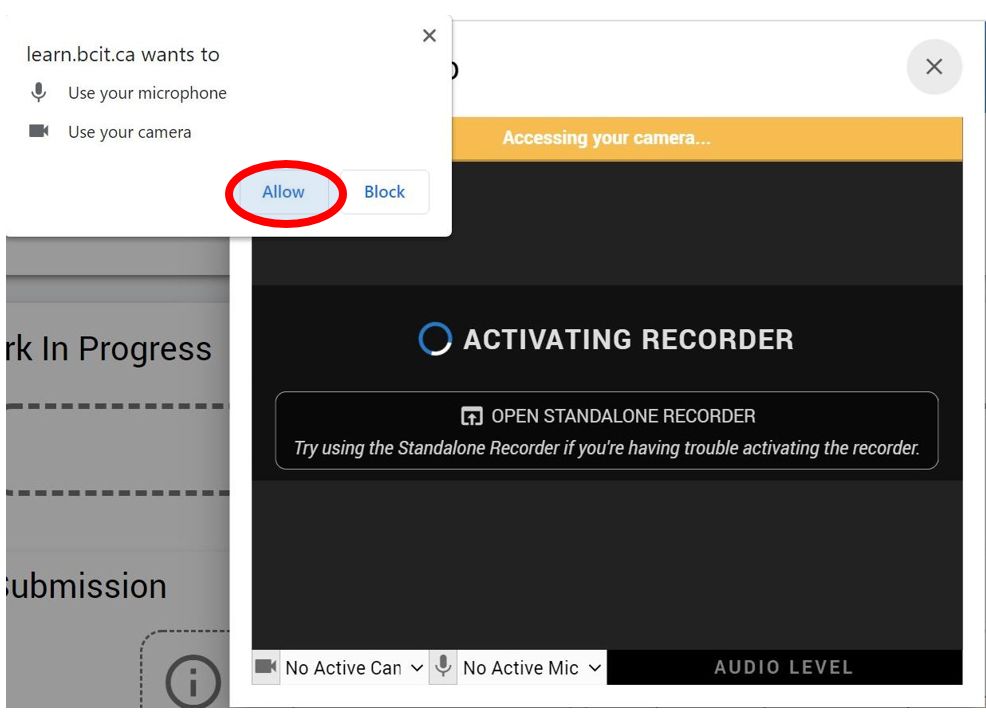
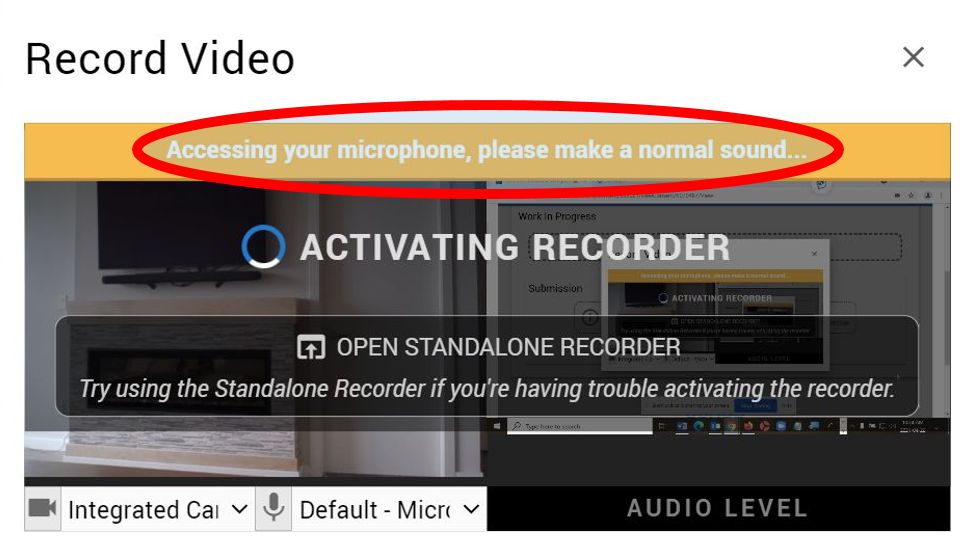
When prompted, as indicated below, make a sound in order for Bongo to access your microphone.

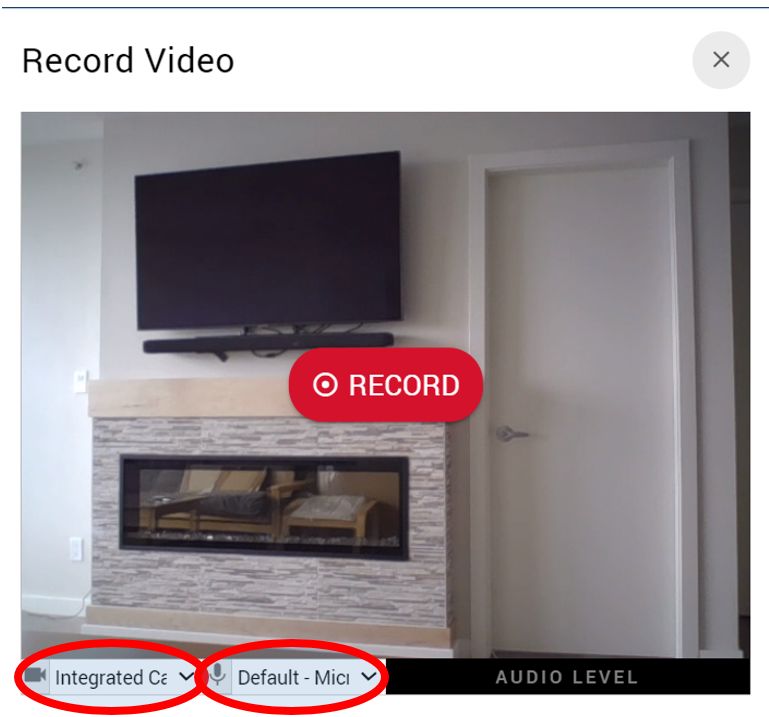
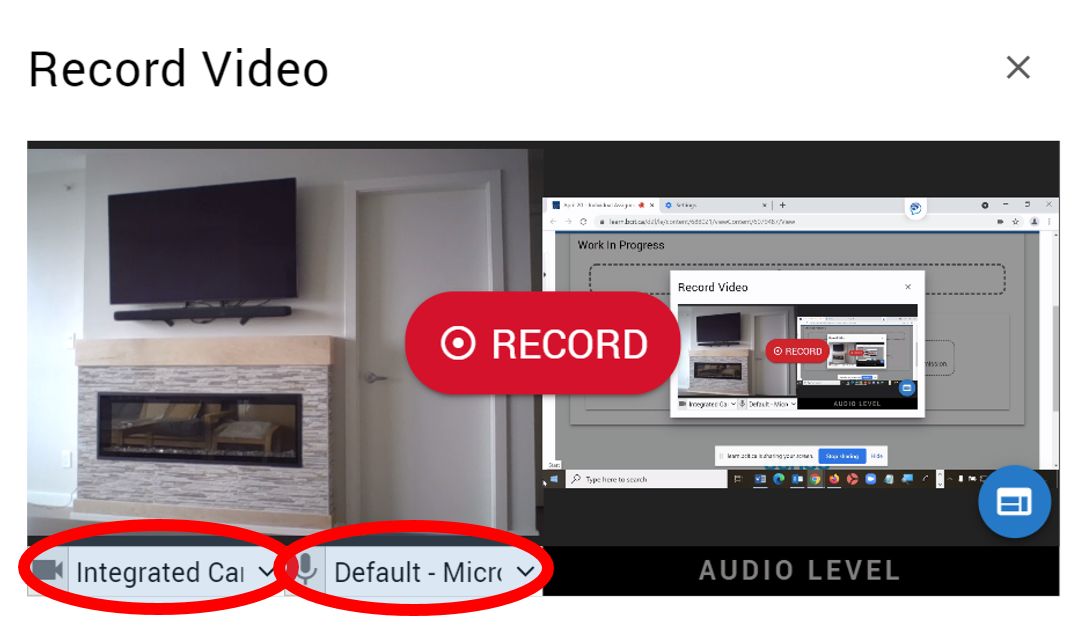
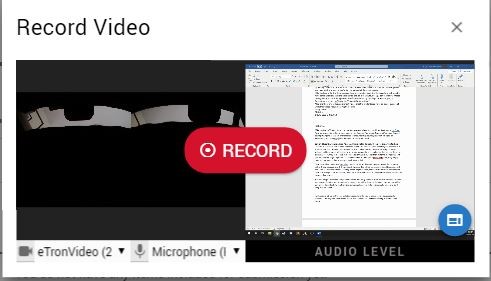
The below screen now appears. If you have more than one camera or microphone, you can change the settings by clicking the caret in the respective circled areas below and following any prompts that appear until the record button re-appears in the center as below.
Notes:
Below are the steps for sharing both your webcam and your screen.
Check off both “Camera” and “Screen“. Then click “Record Video“.
Like the initial steps in this accordion, you may be prompted to allow access to your microphone and camera. If so, click “allow”.
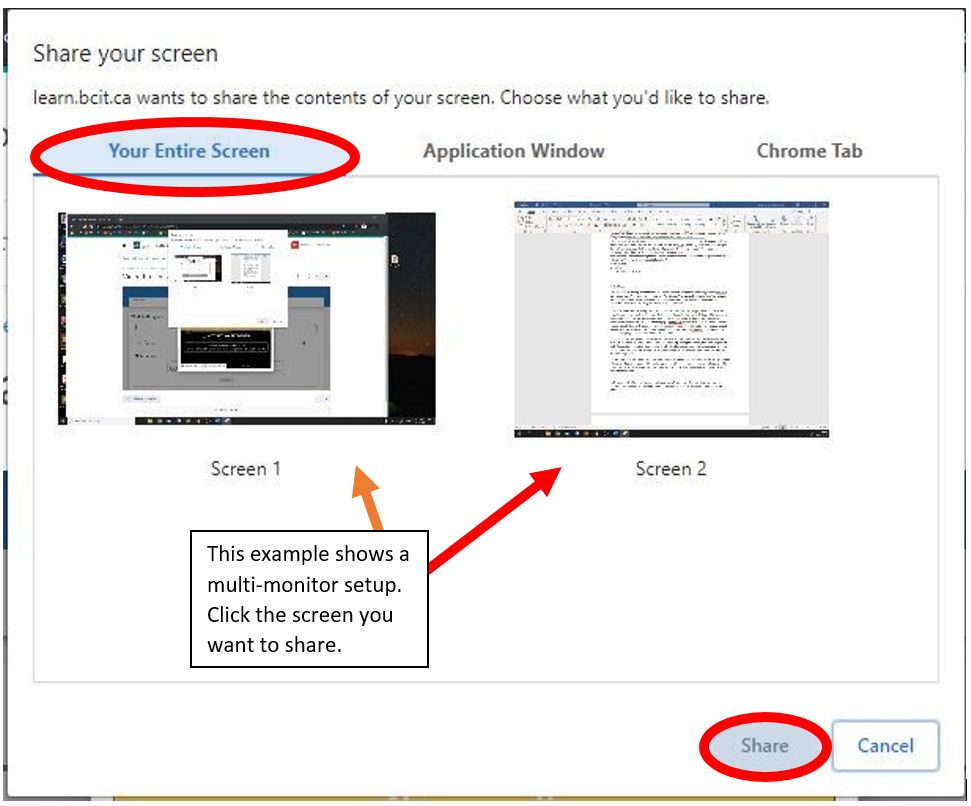
You will then be asked which screen (if you have more than one), application window, or chrome tab you want to share. The recommendation is to share your entire screen because it allows you to switch between multiple applications and tabs during your presentation. To share your entire screen, click the applicable icon that appears below the three tabs at the top when “your entire screen” tab is selected. In the example below with a dual monitor setup, you would click screen 1 or 2 depending on the screen you want to share. Then click the “share” button.
Next, you will be asked to make a sound to allow access to your microphone as below.
At this point, if you have multiple cameras and/or microphones, you can configure them in the lower left corner as in the below screenshot. If you change your microphone or camera settings, follow any on-screen prompts until you see the “record” button in the center as below.
4. Record Your Video Presentation
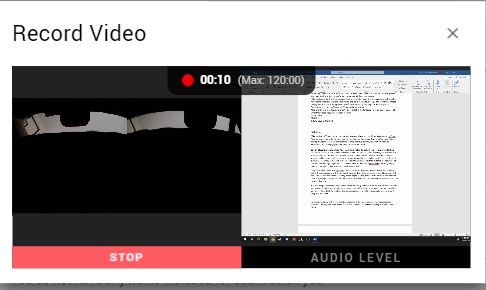
- When you’re ready, click the “RECORD” button and start your presentation by opening the screen/application you are sharing, and start talking!
- When you’re finished, click “STOP“.
5. Save, Preview and Queue your Presentation
- You will then be given three icons at the bottom of the record video screen. “Trash“, “Download” and “Save“.

- If you think the recording was good, click “Save“. Otherwise trash it and start again.
- After you click save, the video will begin processing. This can take some time, but don’t close your browser!
- Once it’s done processing, you can click the eyeball on the right side to preview it.

- Full-screen the preview by clicking the lower right icon or it will be hard to see. (Your instructor will have a similar view and option when they view your assignment).

- If you’re happy with the recording, close the preview and click the star icon on the left beside the video name to add it to your queue. Note: Your video is not submitted at this point.

6. Add Additional Files and Submit
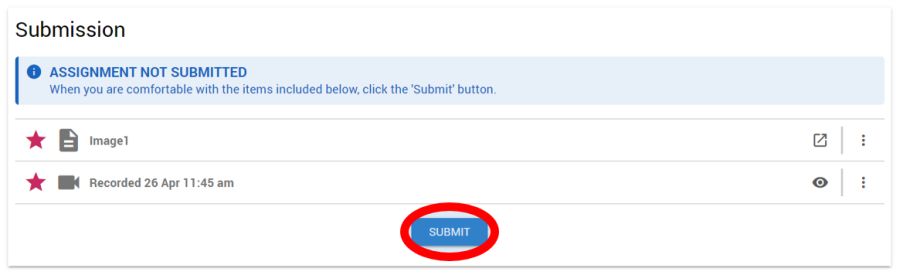
- Now’s your chance to click the “Add” button and add any additional files or links that are not videos that may be required by your instructor. If you used a PowerPoint in your recording, it’s usually a good idea to upload the PowerPoint here as well. Be sure to star it to add it to your submission.

- When you’ve starred all the files/recordings you want in your submission click “Submit” and then confirm it.
- Wait patiently for your instructor to mark it.
Related Posts
