


- Resource
- Uncategorized
- Kaltura My Media – Creating Captions
Kaltura My Media – Creating Captions
Use the captions editor in the Captions Tab (see Kaltura My Media – Editing) to manually create captions for your media. This is useful when no caption file exists or when you want full control over timing and accuracy. Adding captions improves accessibility and helps learners follow along more easily.
Create a New Caption File
- Click Create New Captions.

- The New Captions window opens.
- Select the Language from the dropdown menu.
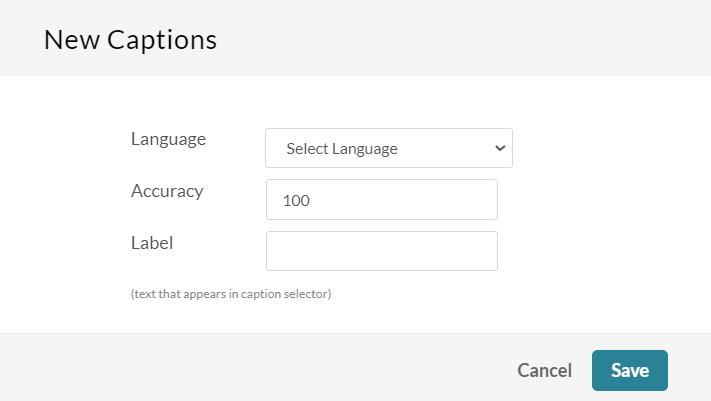
- In the Label field, enter the text that will appear in the caption selector in the player.
- Click Save.
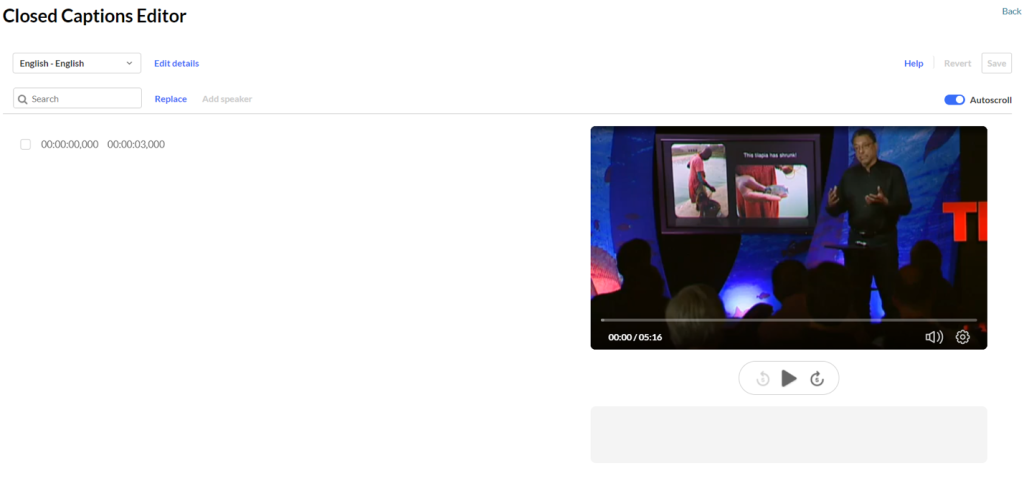
The Closed Captions Editor will open with a blank caption track.
Add Text
- Click in the blank space next to the time field to activate the text area.
- Type the caption text you want to add.
- The new caption appears beneath the video.
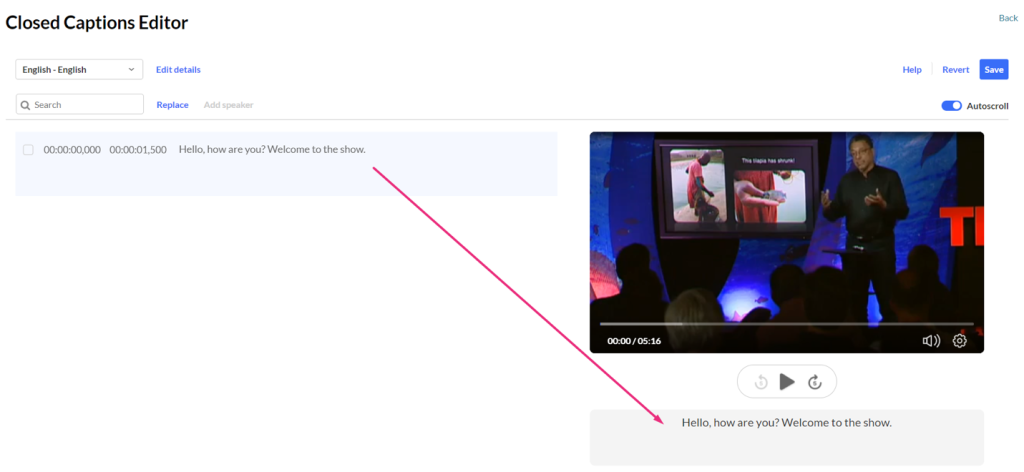
- To preview timing, click Play on the video.
- To add additional captions, hover over any row until you see + Add caption, then click it.
- A duplicate caption line appears.
- Edit or delete the duplicated text as needed.
- Click Save.
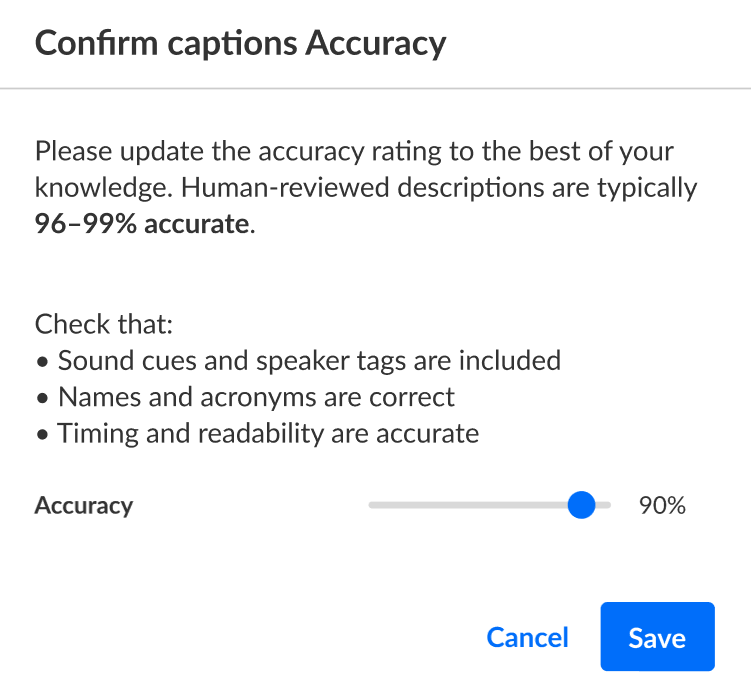
- When prompted, confirm caption accuracy using the slider and click Save.

Adjust Timing
You may need to align each caption with the audio to ensure it appears on screen at the correct moment.
- Click the timestamp to activate the time field.
- Enter the desired start or end time.
- If any caption overlaps with another, the editor highlights the conflict in red.
- The captions editor uses the SMPTE time format: hh:mm:ss,mmm (hours, minutes, seconds, milliseconds).

- Click Save, then confirm accuracy when prompted.

Add Speakers
Use speaker labels when more than one person is talking.
- Select the checkbox beside one or more caption lines.
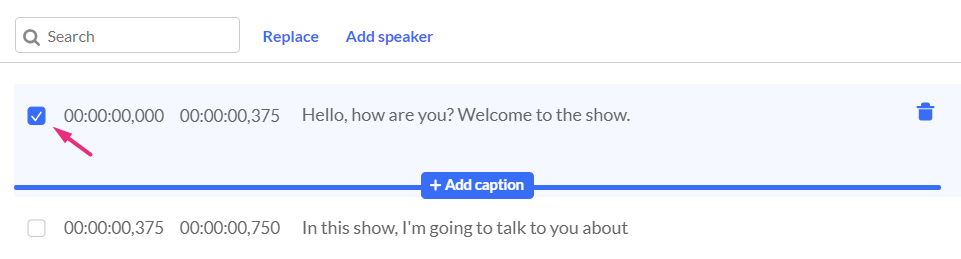
- Click Add Speaker.
- Enter the speaker’s name and click Add Speaker.
- Click Save, then confirm accuracy and Save
- The speaker’s name appears at the beginning of the caption line.
- Repeat these steps until you have captioned the entire video.
Related Posts
