


- Resource
- Uncategorized
- Kaltura Media Gallery – Branding
Kaltura Media Gallery – Branding
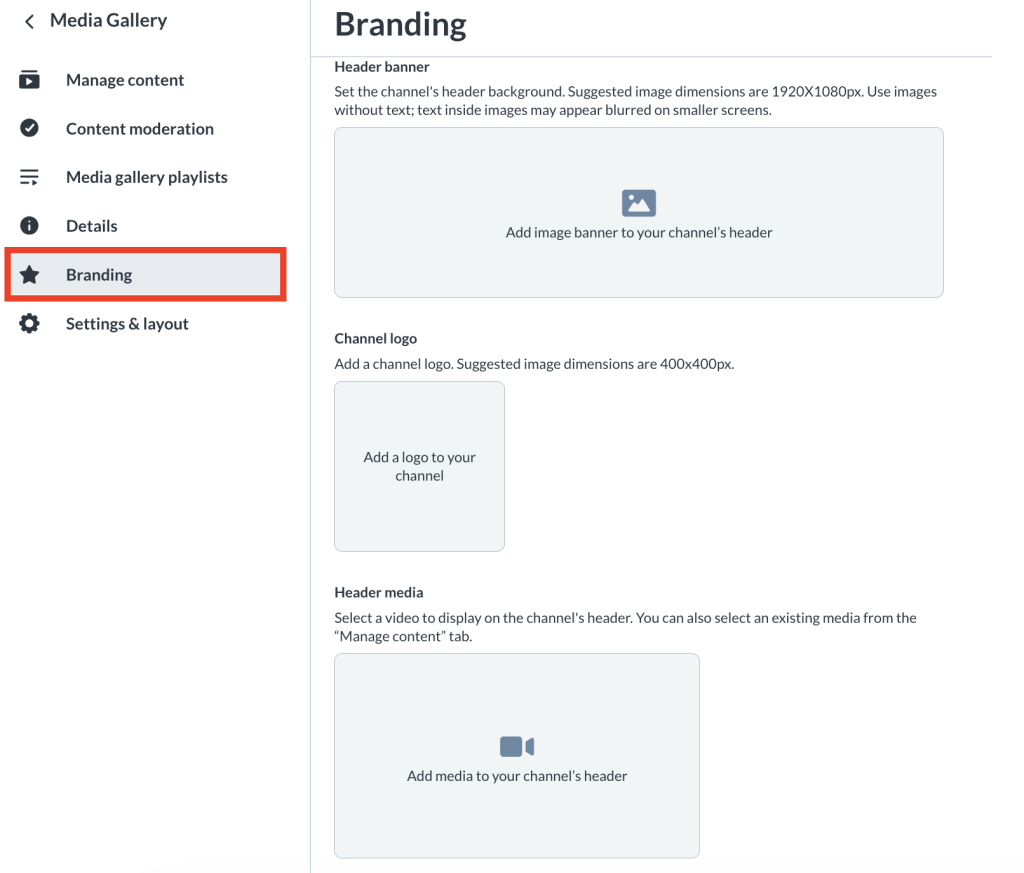
Use the Branding tab to customize the top area of your Media Gallery with a banner image, logo, and featured header media, which are then displayed at the top of the page.
Access the Branding tab
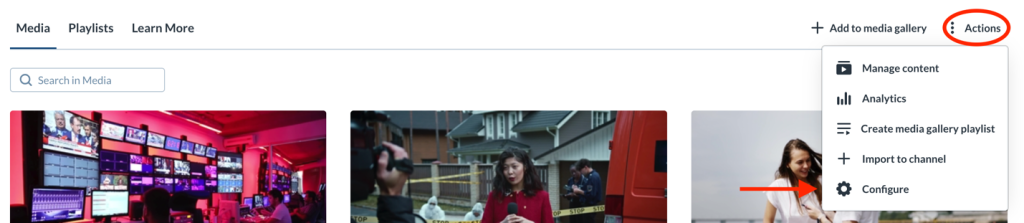
Inside Kaltura Media Gallery click the Actions menu at the top right and select Configure.
The ‘Details’ page displays by default.
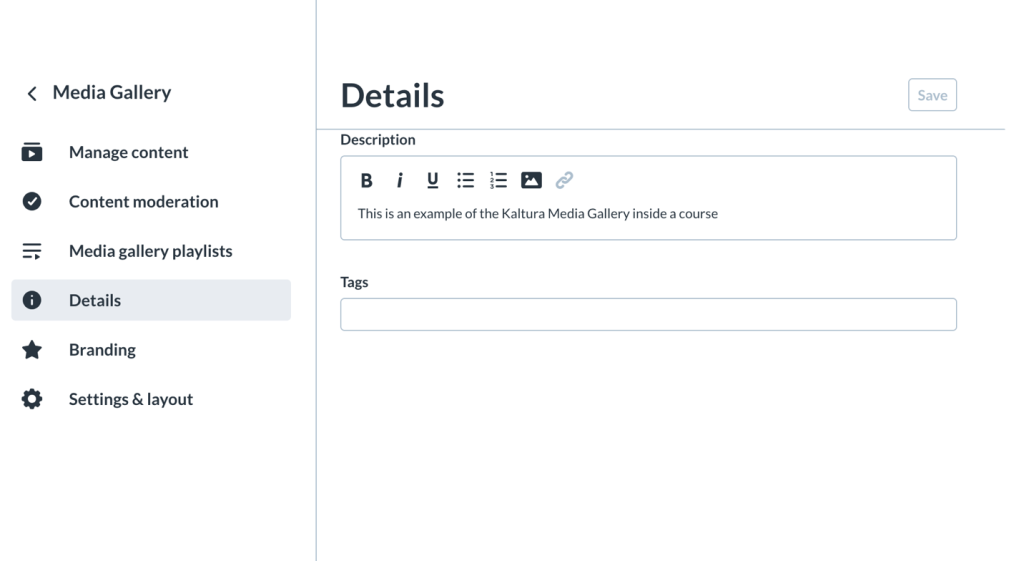
In the left navigation panel, click Branding.
Configure Brand Settings
Add or Update a Banner
- In the Header banner section, click on Add Image to your channel’s header.
- Browse to and select the desired image from your device. To upload (or delete) an image, click Edit thumbnail and choose the appropriate action.

- Changes will be saved automatically
Banner Images
- The image is uploaded as-is, so choose a horizontal image that fits the banner space. If the image doesn’t match the layout, parts of it may be cut off in the header.
- Banner images uploaded here aren’t added to My Media.
Add or Update a Logo
- In the Channel logo section, click on Add logo to your channel.
- Browse to and select the desired image from your device. To upload (or delete) an image, click Edit logo and choose the appropriate action.
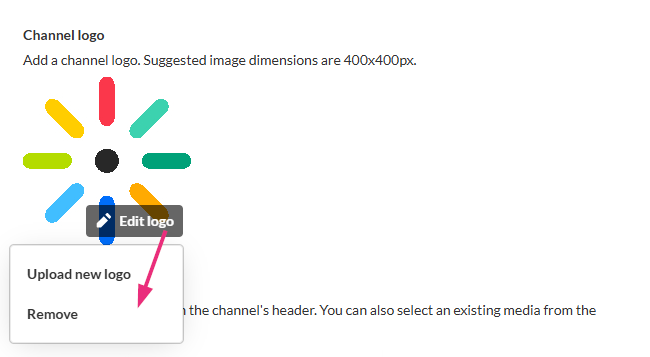
- Changes will be saved automatically
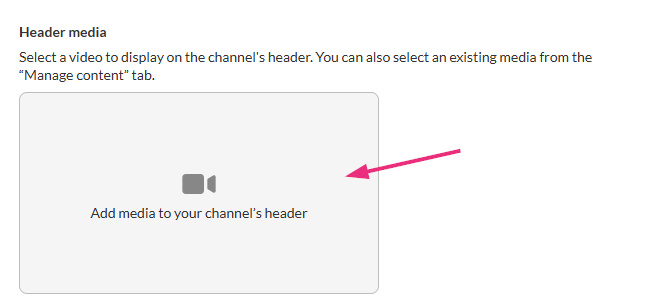
Set header media
Header media appears on the right side of the header and lets you feature a video. If a video is already set, you can remove or replace it here.
- In the Header media section, click on Add media to your channel’s header.
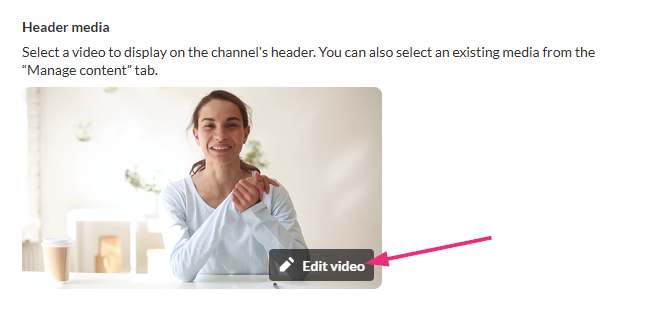
- Browse to a video file on your computer and upload it. To remove the video or upload a new one, click Edit video and choose one of the actions.
- Changes will be saved automatically
Header Media
- Only one media item can be used as header media at a time.
- To use existing media as header media, set it from the Manage content
Related Posts
